

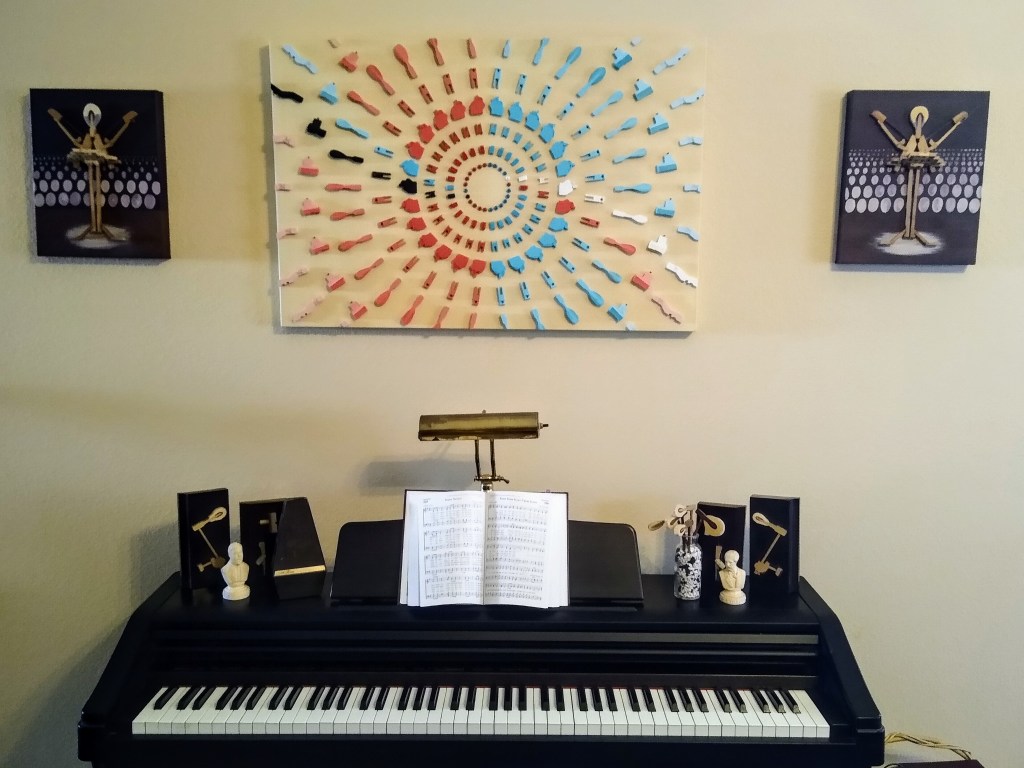
Welcome back to my piano art studio. Today I’d like to take you inside my head to see how I thought through the idea that eventually came to be known as “Love Letters.” I hope you enjoy the read.
Broken beauties
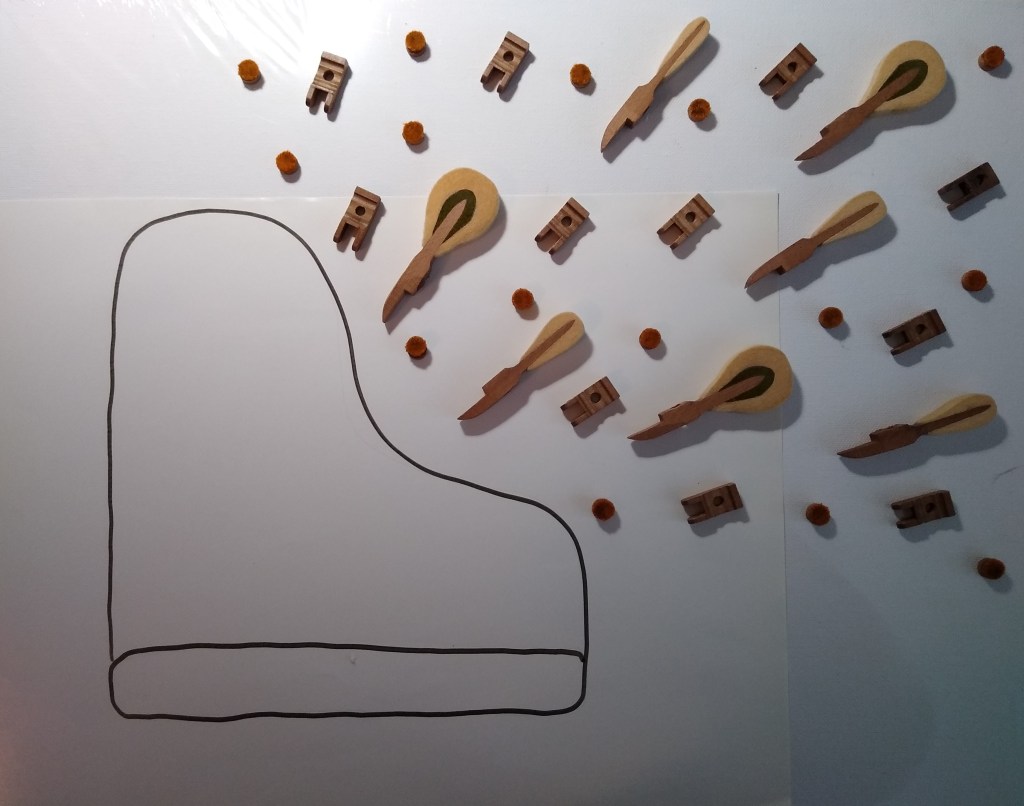
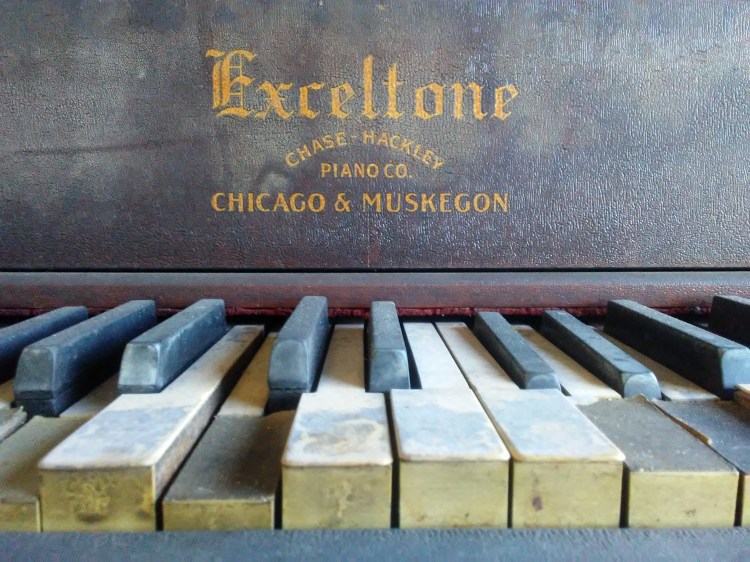
One day as I was sorting through my bin of ivory keys, I found that I had attained quite an assortment of miscellaneous keys that had lost their ivory keytop heads. What am I going to do with these beauties?
To begin with, I need to sand the heads smooth. . . .
Ok, that’s done. Now what?
Now what?
I browsed Pinterest and the home decor section of local stores, looking for ideas, and I saw several messages written out with wooden blocks.
I can do that! Each key will represent a block, and I can write the letters on the keytop heads.
But what will I write? What message should these musical blocks display? Ah, yes! “I love music.” It’s a no-brainer. And I’ll use a heart to represent the word “love.”
This will involve seven keys, so I’ll need seven paint colors. The heart will be red, so I want the background to be white. As for the others, I’m not sure just yet.
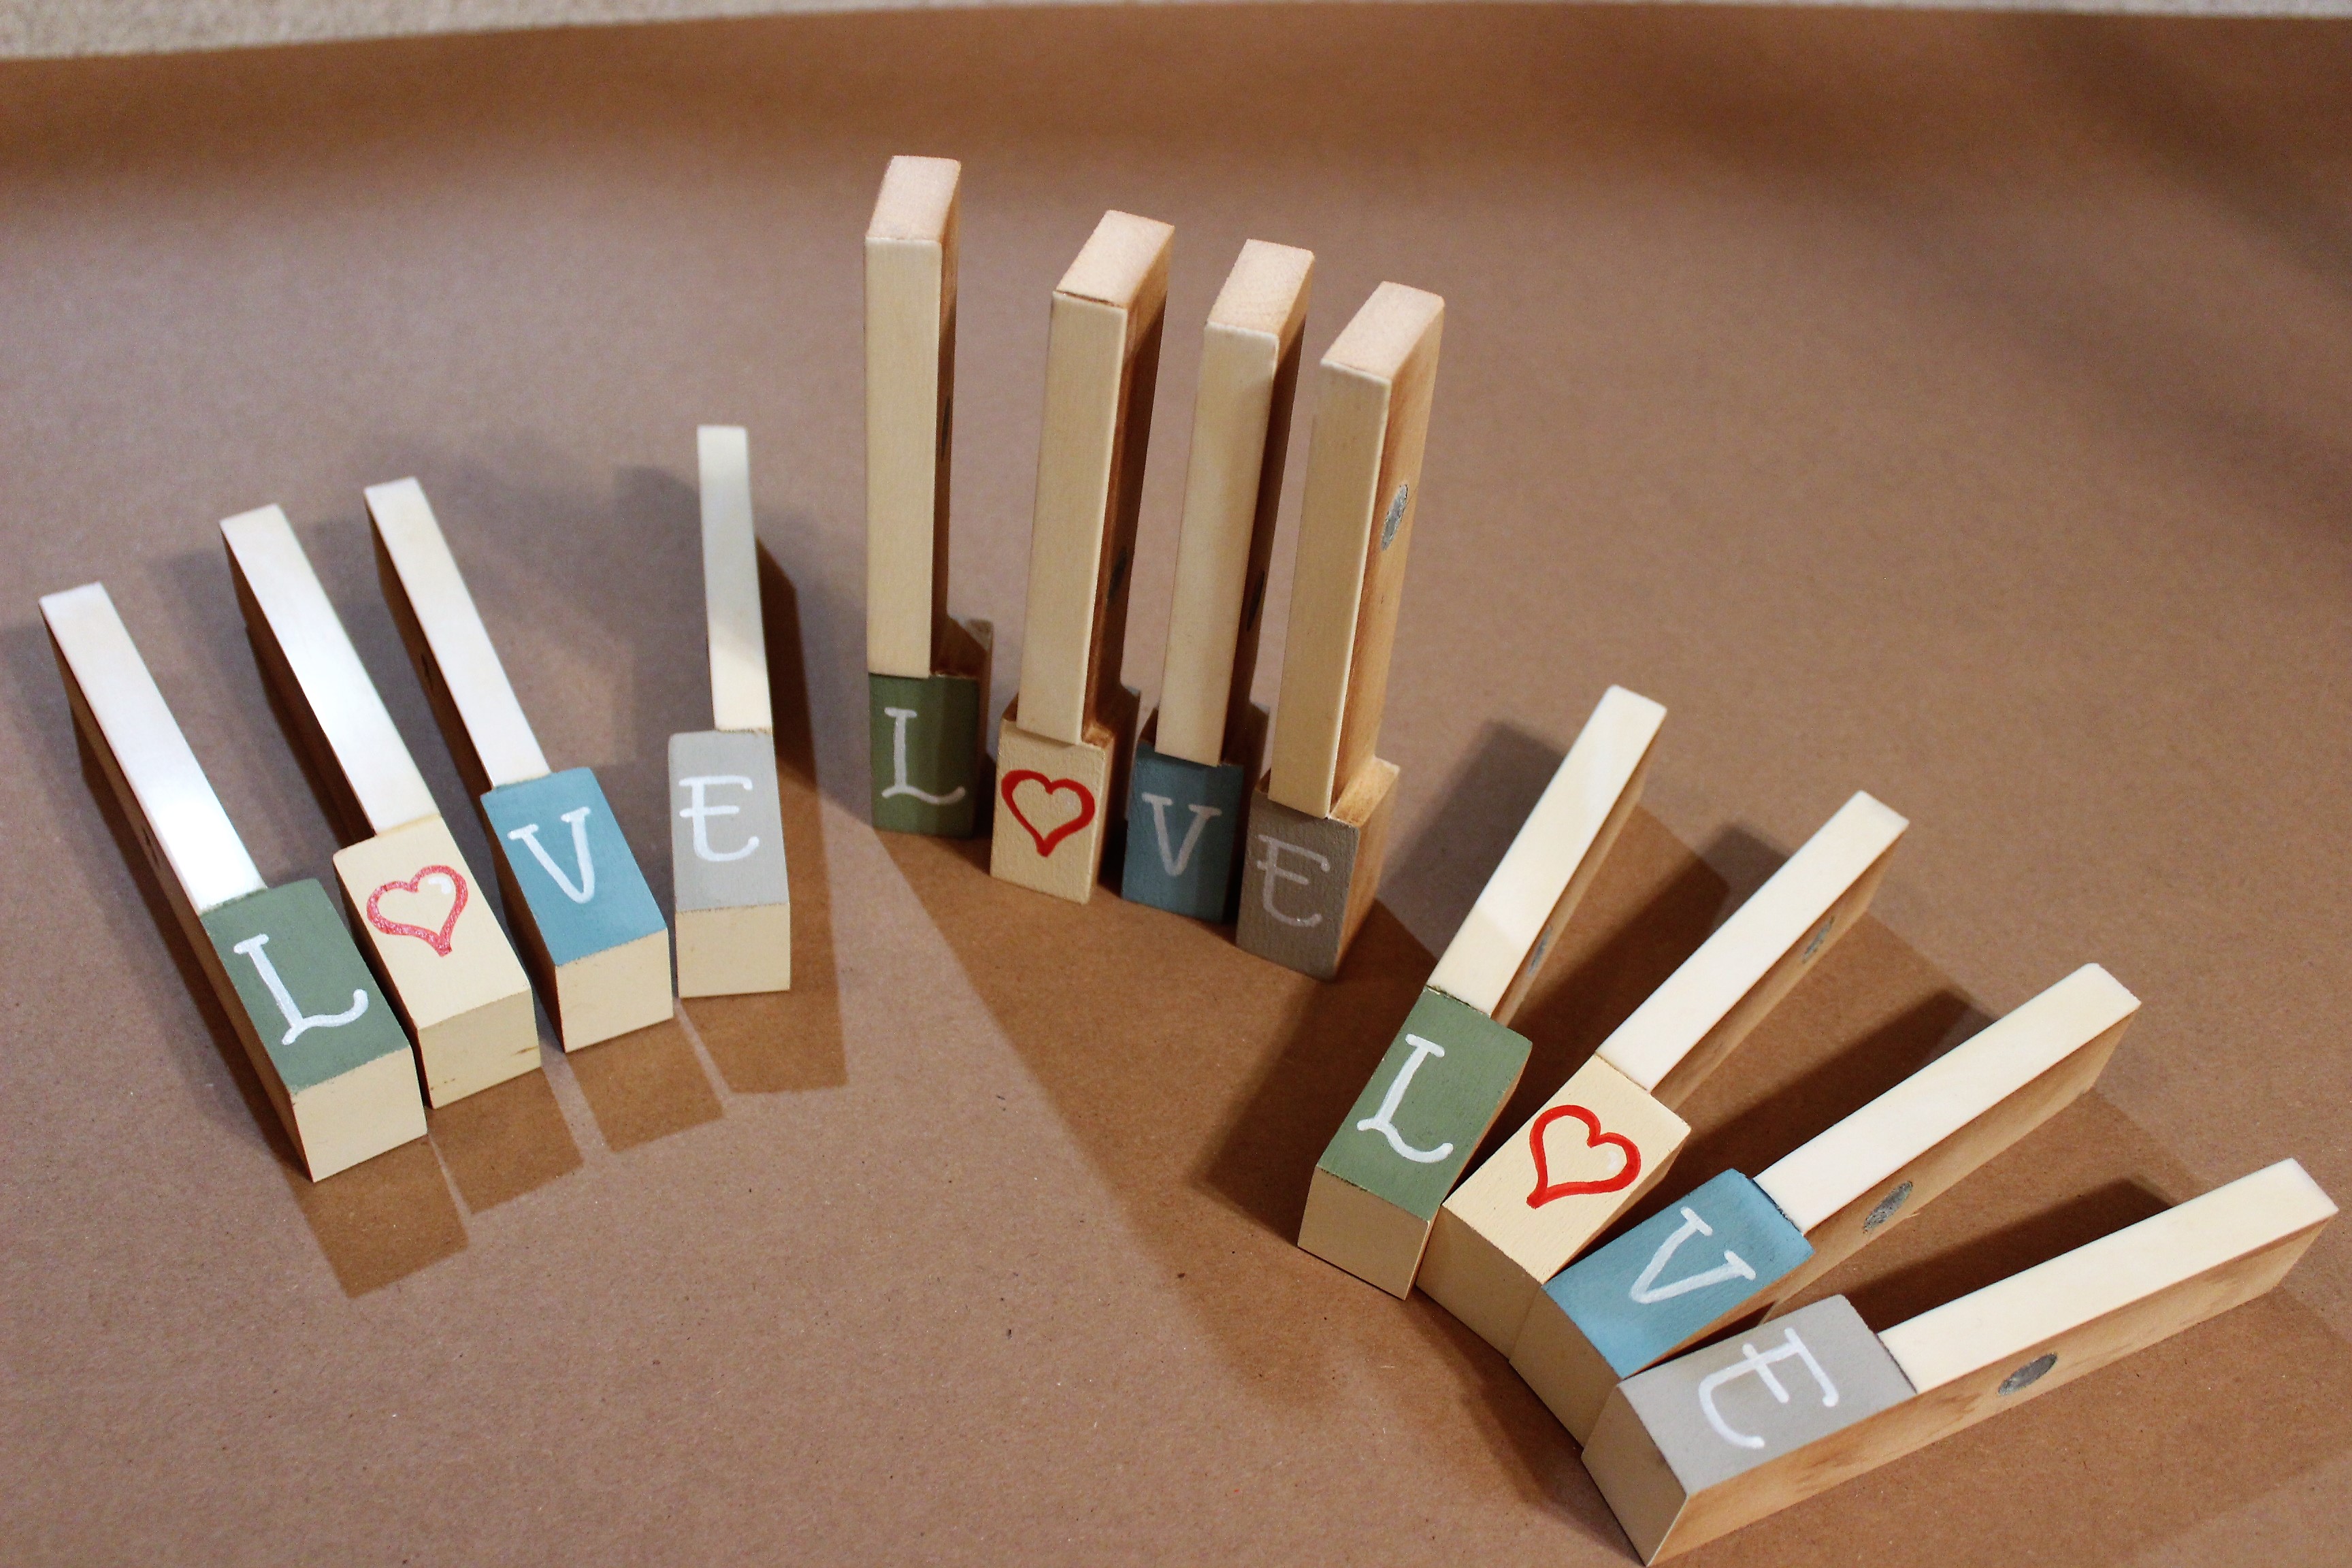
Upon counting the keys I had available, I decided to make two sets of I♡MUSIC. But I still had keys that were missing their keytop heads. In fact, I had 16 more. That would be enough for two more sets, but I’d have two left over. What other words could I make? How about “LOVE.” And I’m creating these to be home decor items, so the word “HOME” also sounds appropriate. I’ll make two of each: one in warm colors and the other in cool colors, to match any decor.


Decisions, decisions
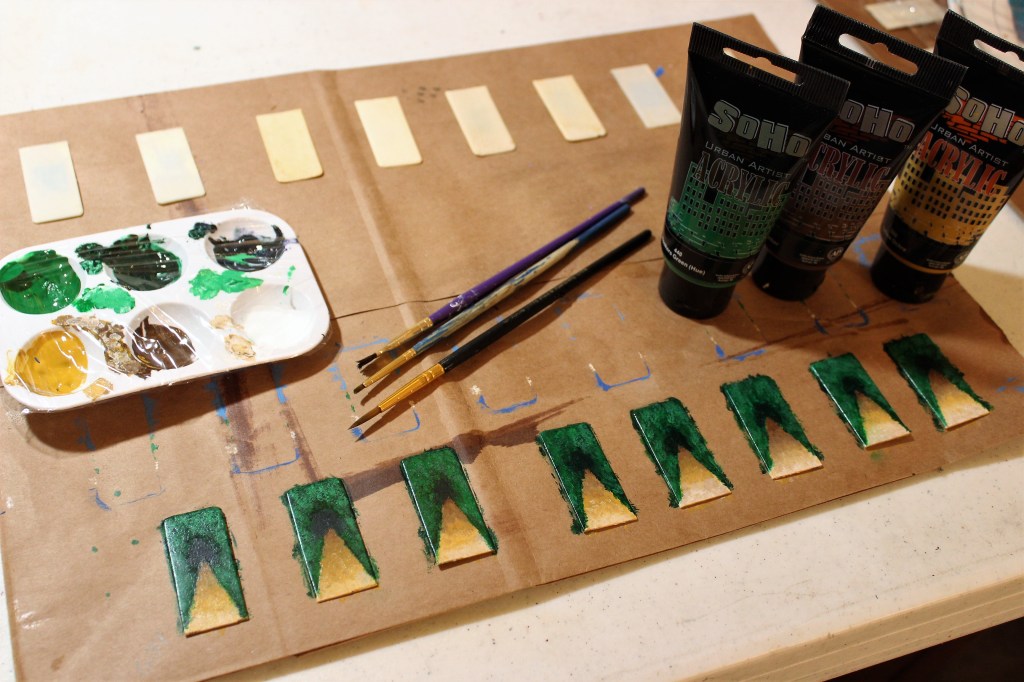
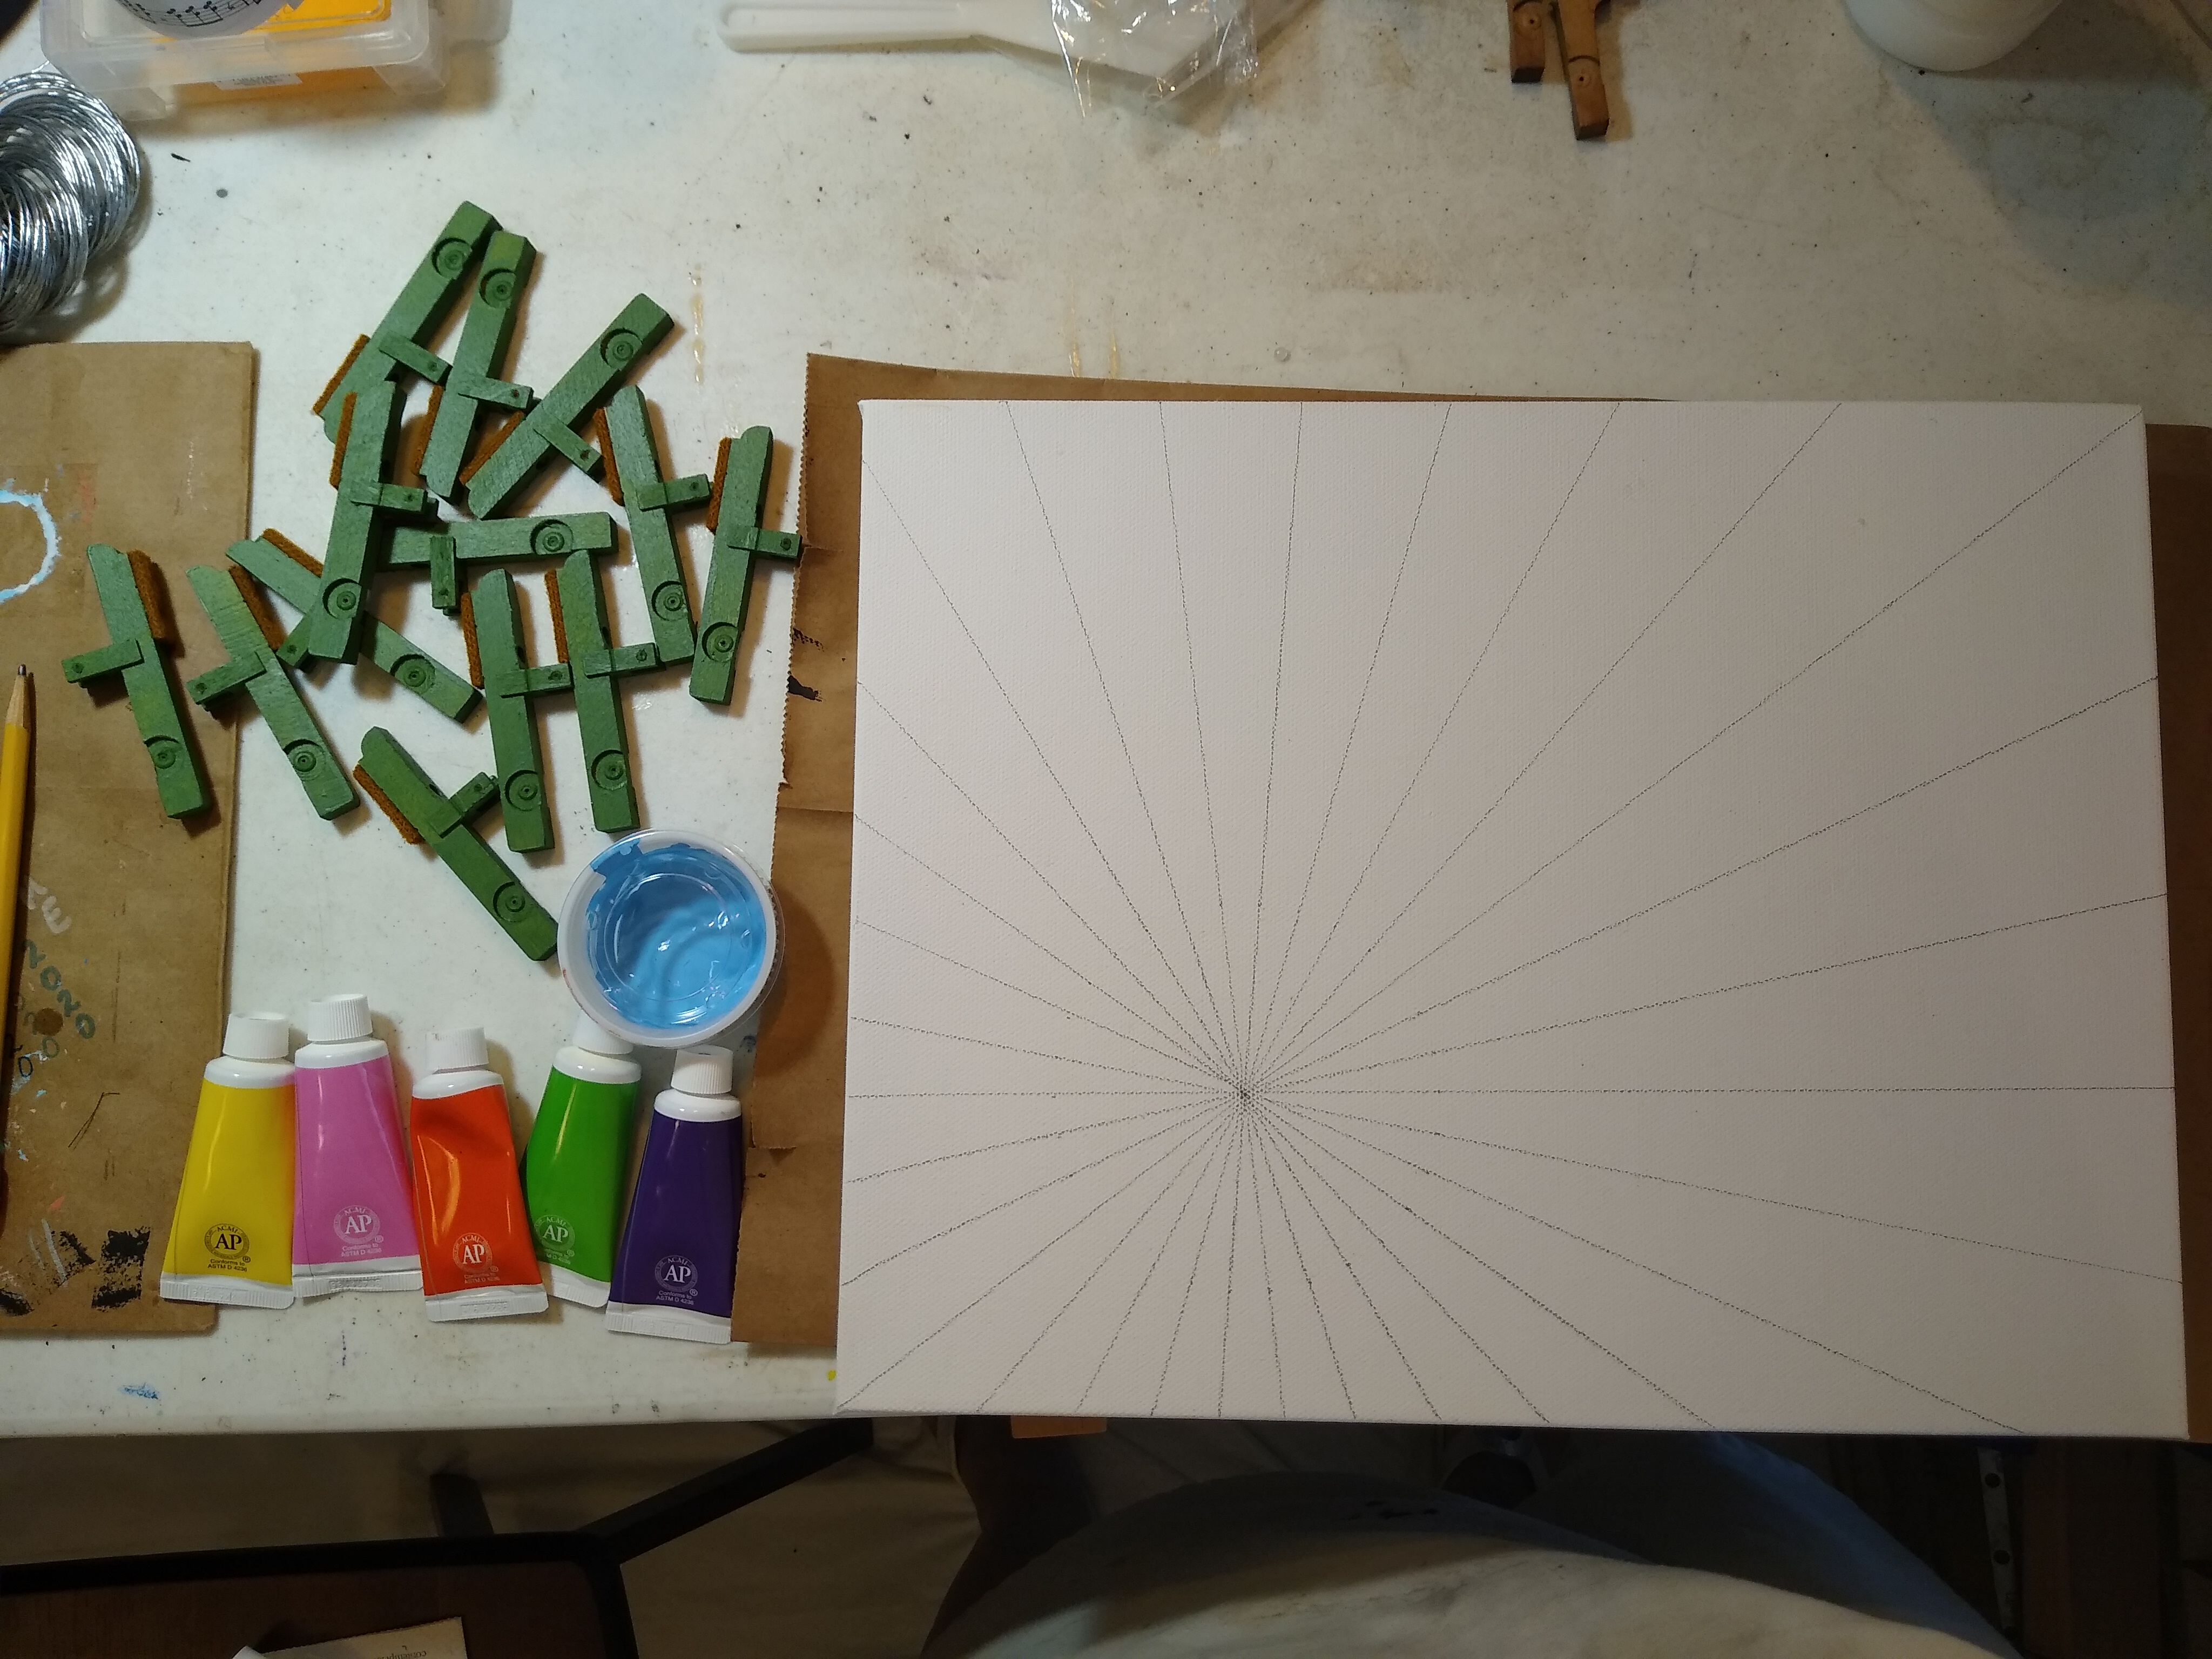
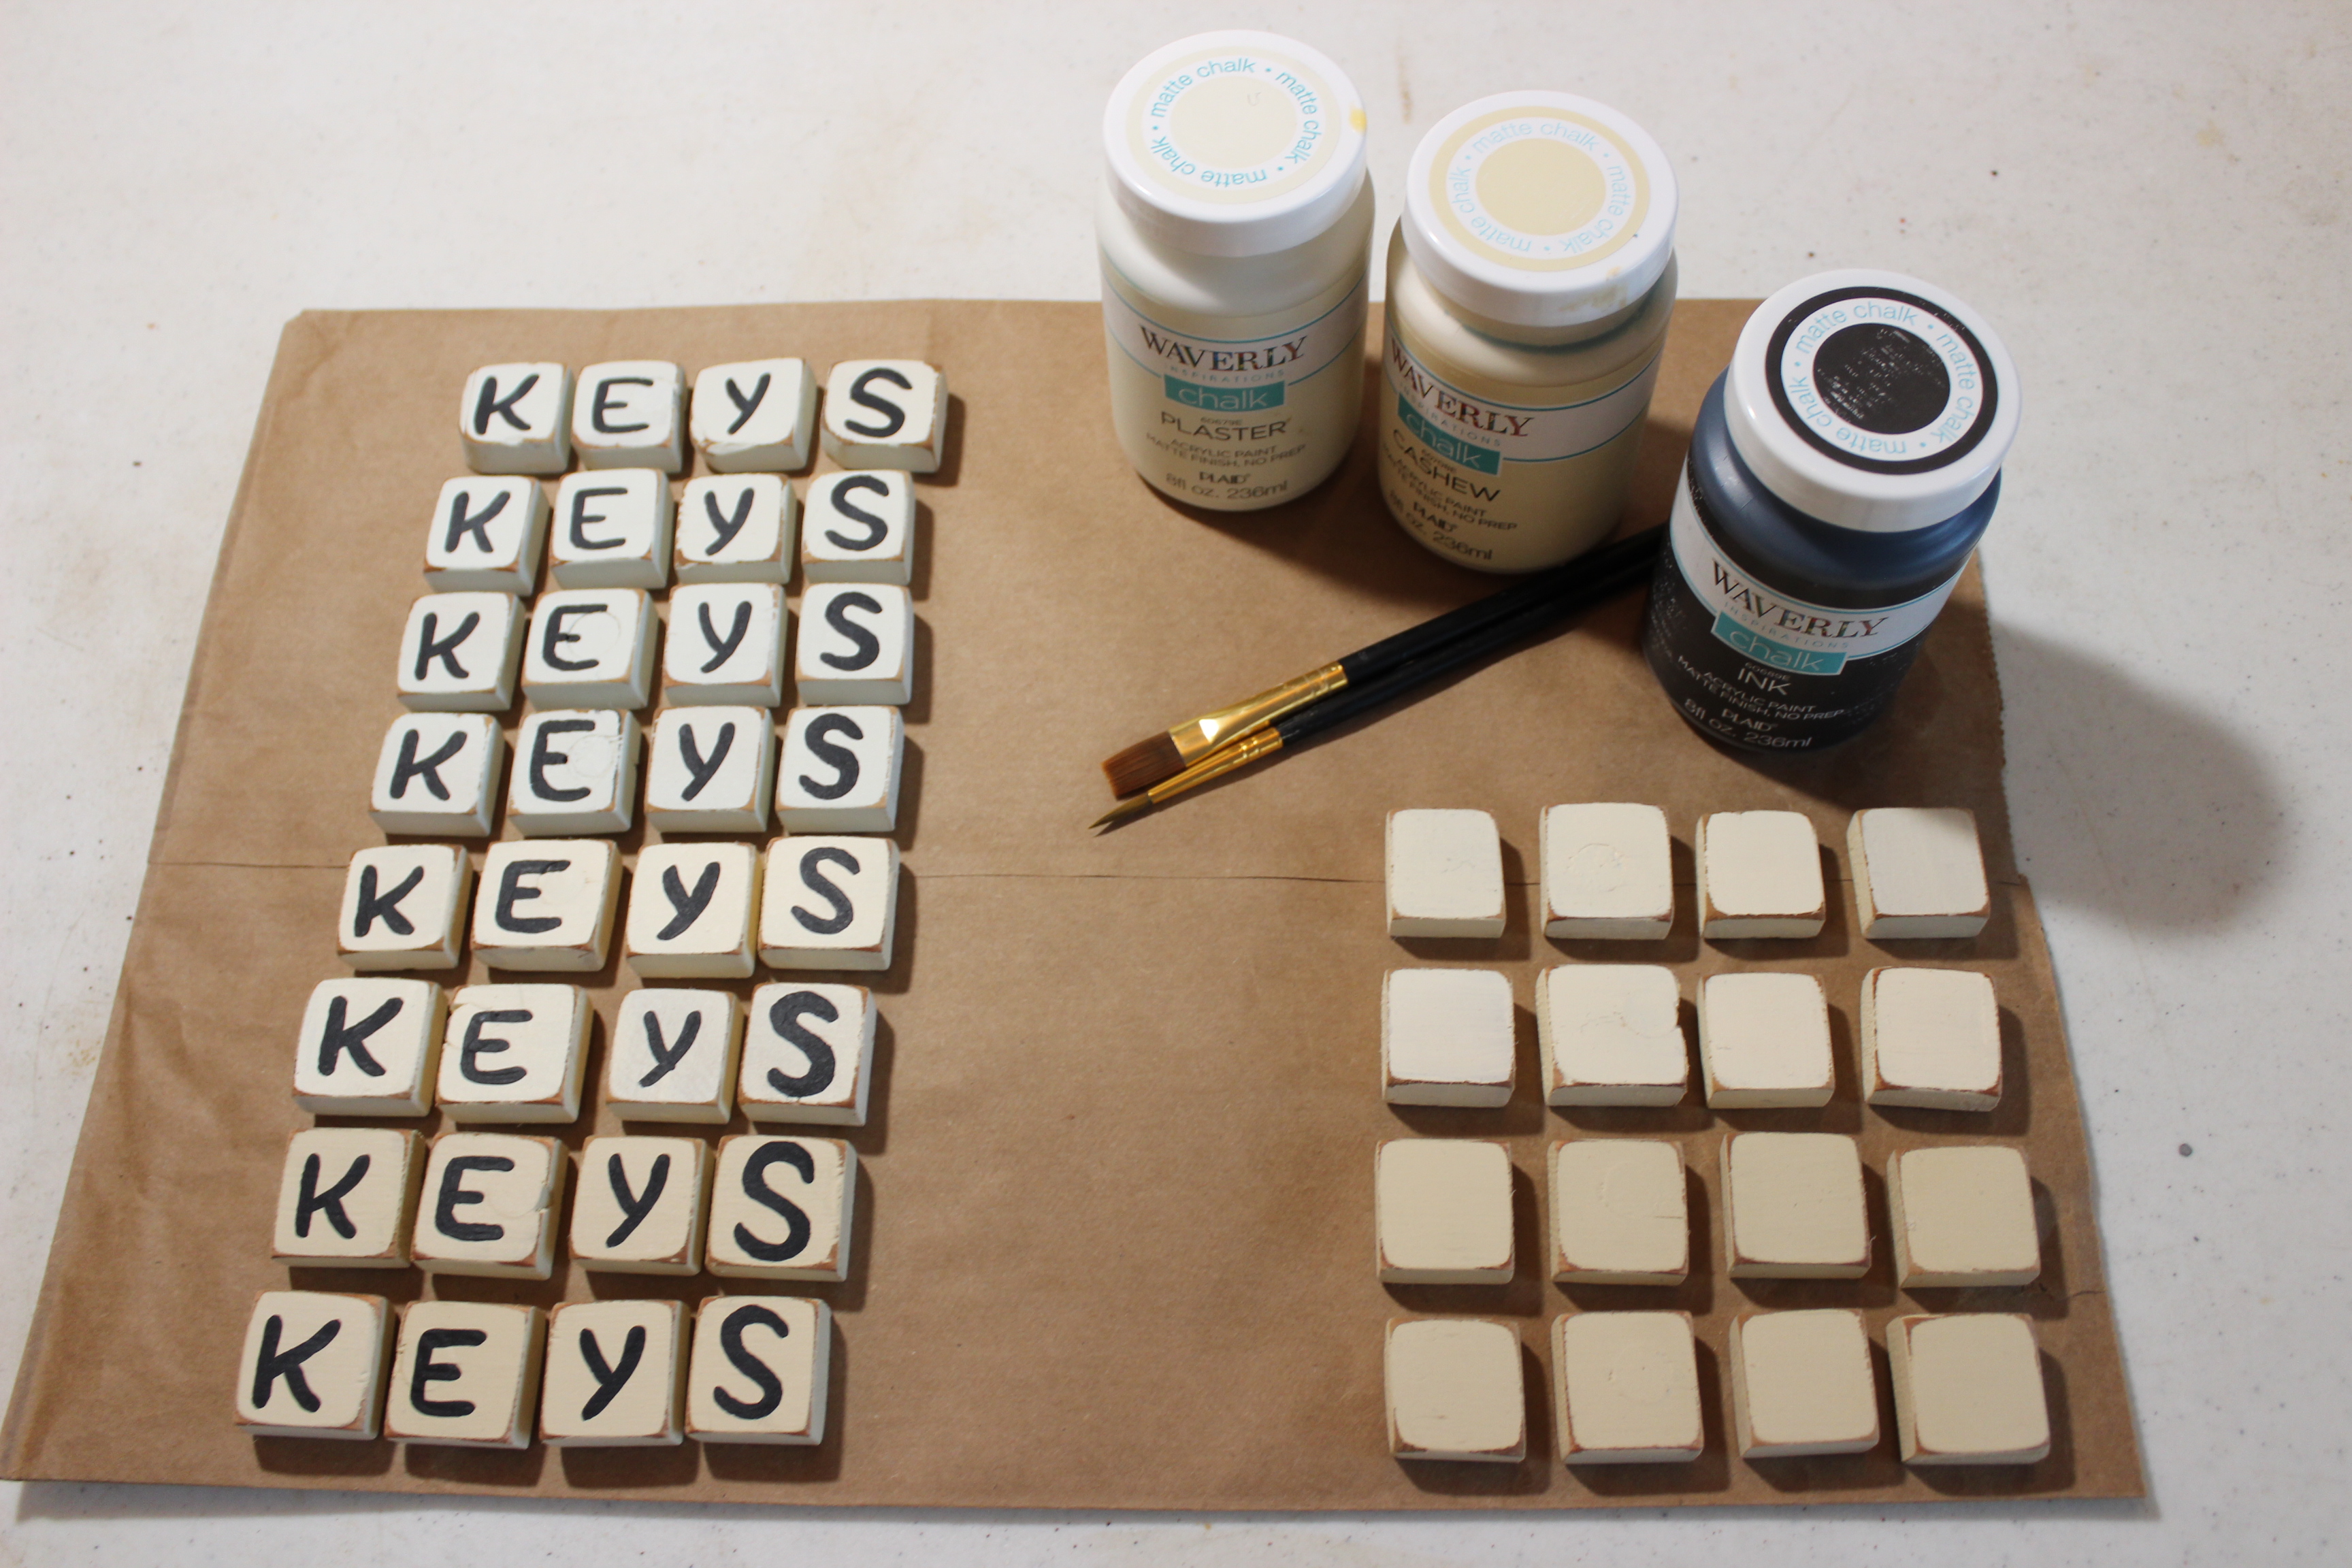
With chalk paint becoming more and more popular, I’ll try it out on these key-blocks. I went to the store and browsed the chalk paint selections, choosing six colors that coordinated with one another, plus black, white (plaster), and red. These will do nicely.
At home, I set out all the bottles of paint, rearranged them several times, taking pictures of the bottles to see how the colors looked when photographed. There. That’s good. When I had the colors arranged to my satisfaction, I carefully painted each head.
Next question: What font am I going to use for the letters? For help with that, I went back to Pinterest, browsed until I found a few different styles I liked, then practiced in my sketchbook. Yes, this one. I can duplicate it with ease, it’s easy to read, and it has a simple elegance to it.
When the paint was dry, I wrote letters on the keys, one on each head, and put them together to spell “I♡MUSIC,” “L♡VE,” and “HOME.” I made some available in cool tones and others in warm tones. I’m so pleased that the keys stand on their own and can be positioned however I like. When finished, I made them available for sale both online and locally.


Revisions, revisions
Several craft fairs later. . . These Love Letters are nice, but I’m getting tired of having to put out each individual key at every single craft fair. And the wind knocks them over. And they fall when people bump the table. If they annoy me, they’ll annoy my buyers. Imagine having to move each key individually when it comes time to dust! What a pain! It’s time to improve the design.
So I decided to glue them together. Ah, yes! an instant improvement. They do require a little reinforcement on the back, though, since they weren’t made to go together so closely. But I have lots of thin plywood on hand, so that’s not a problem.


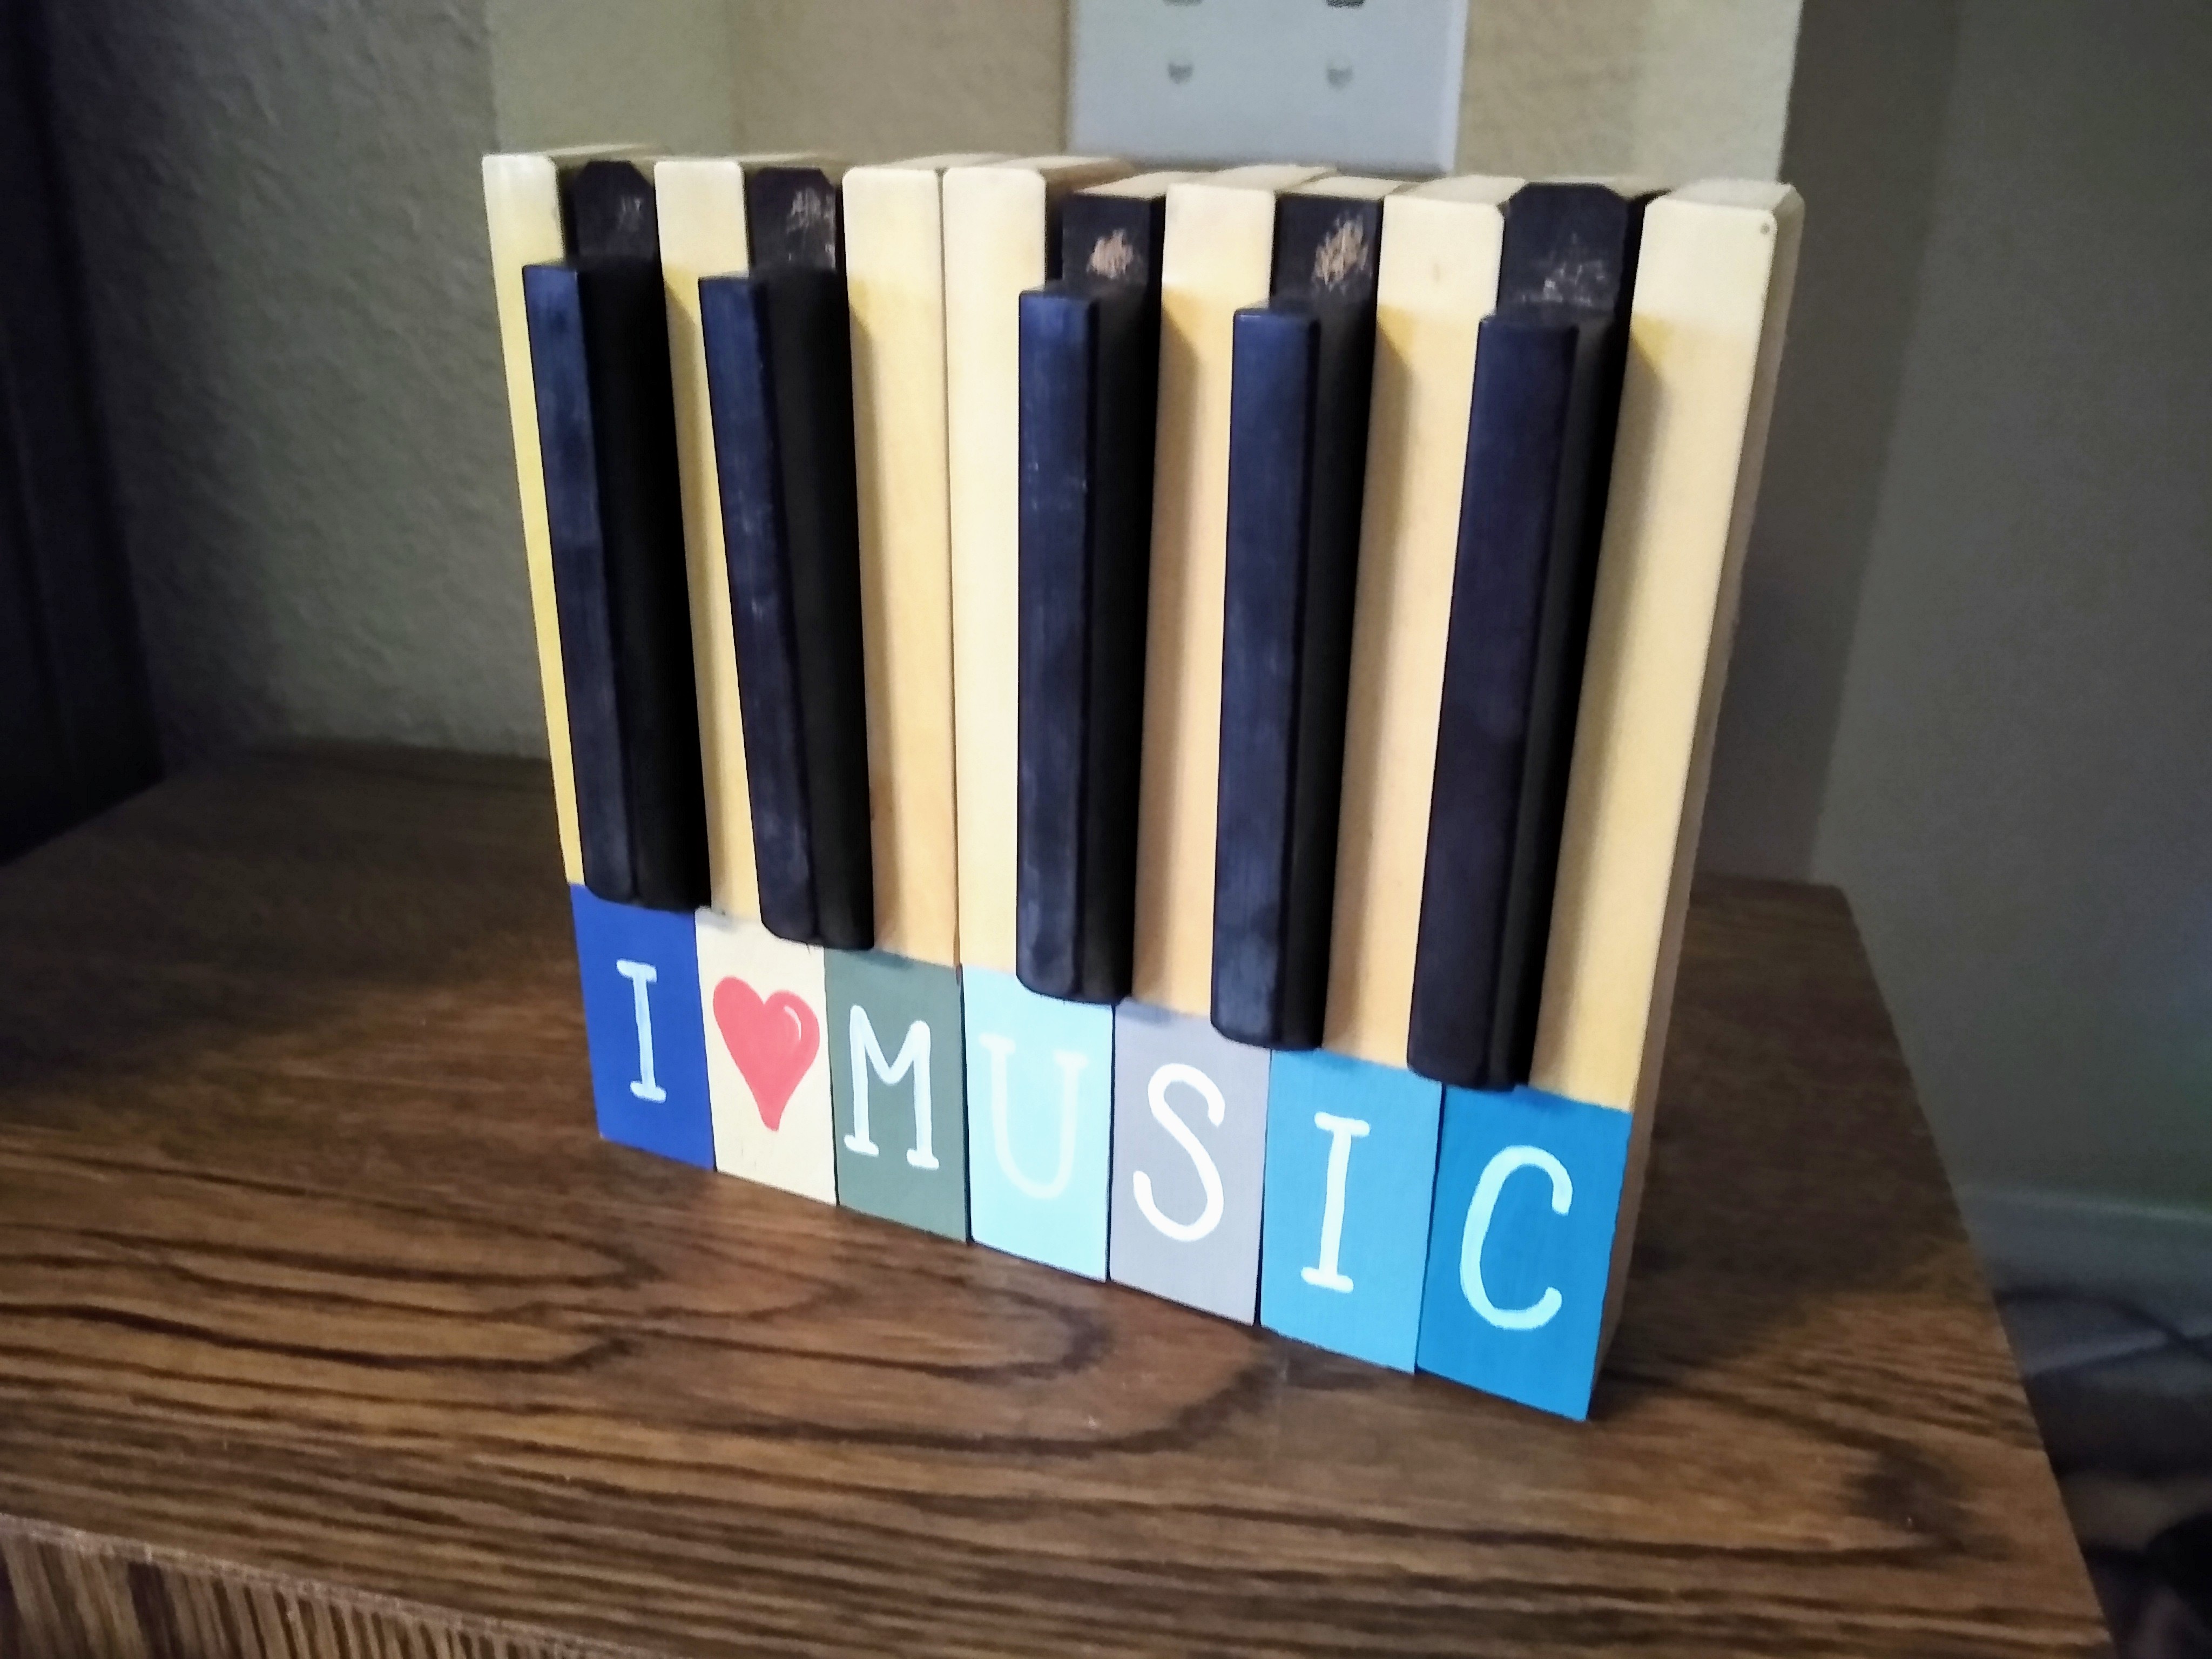
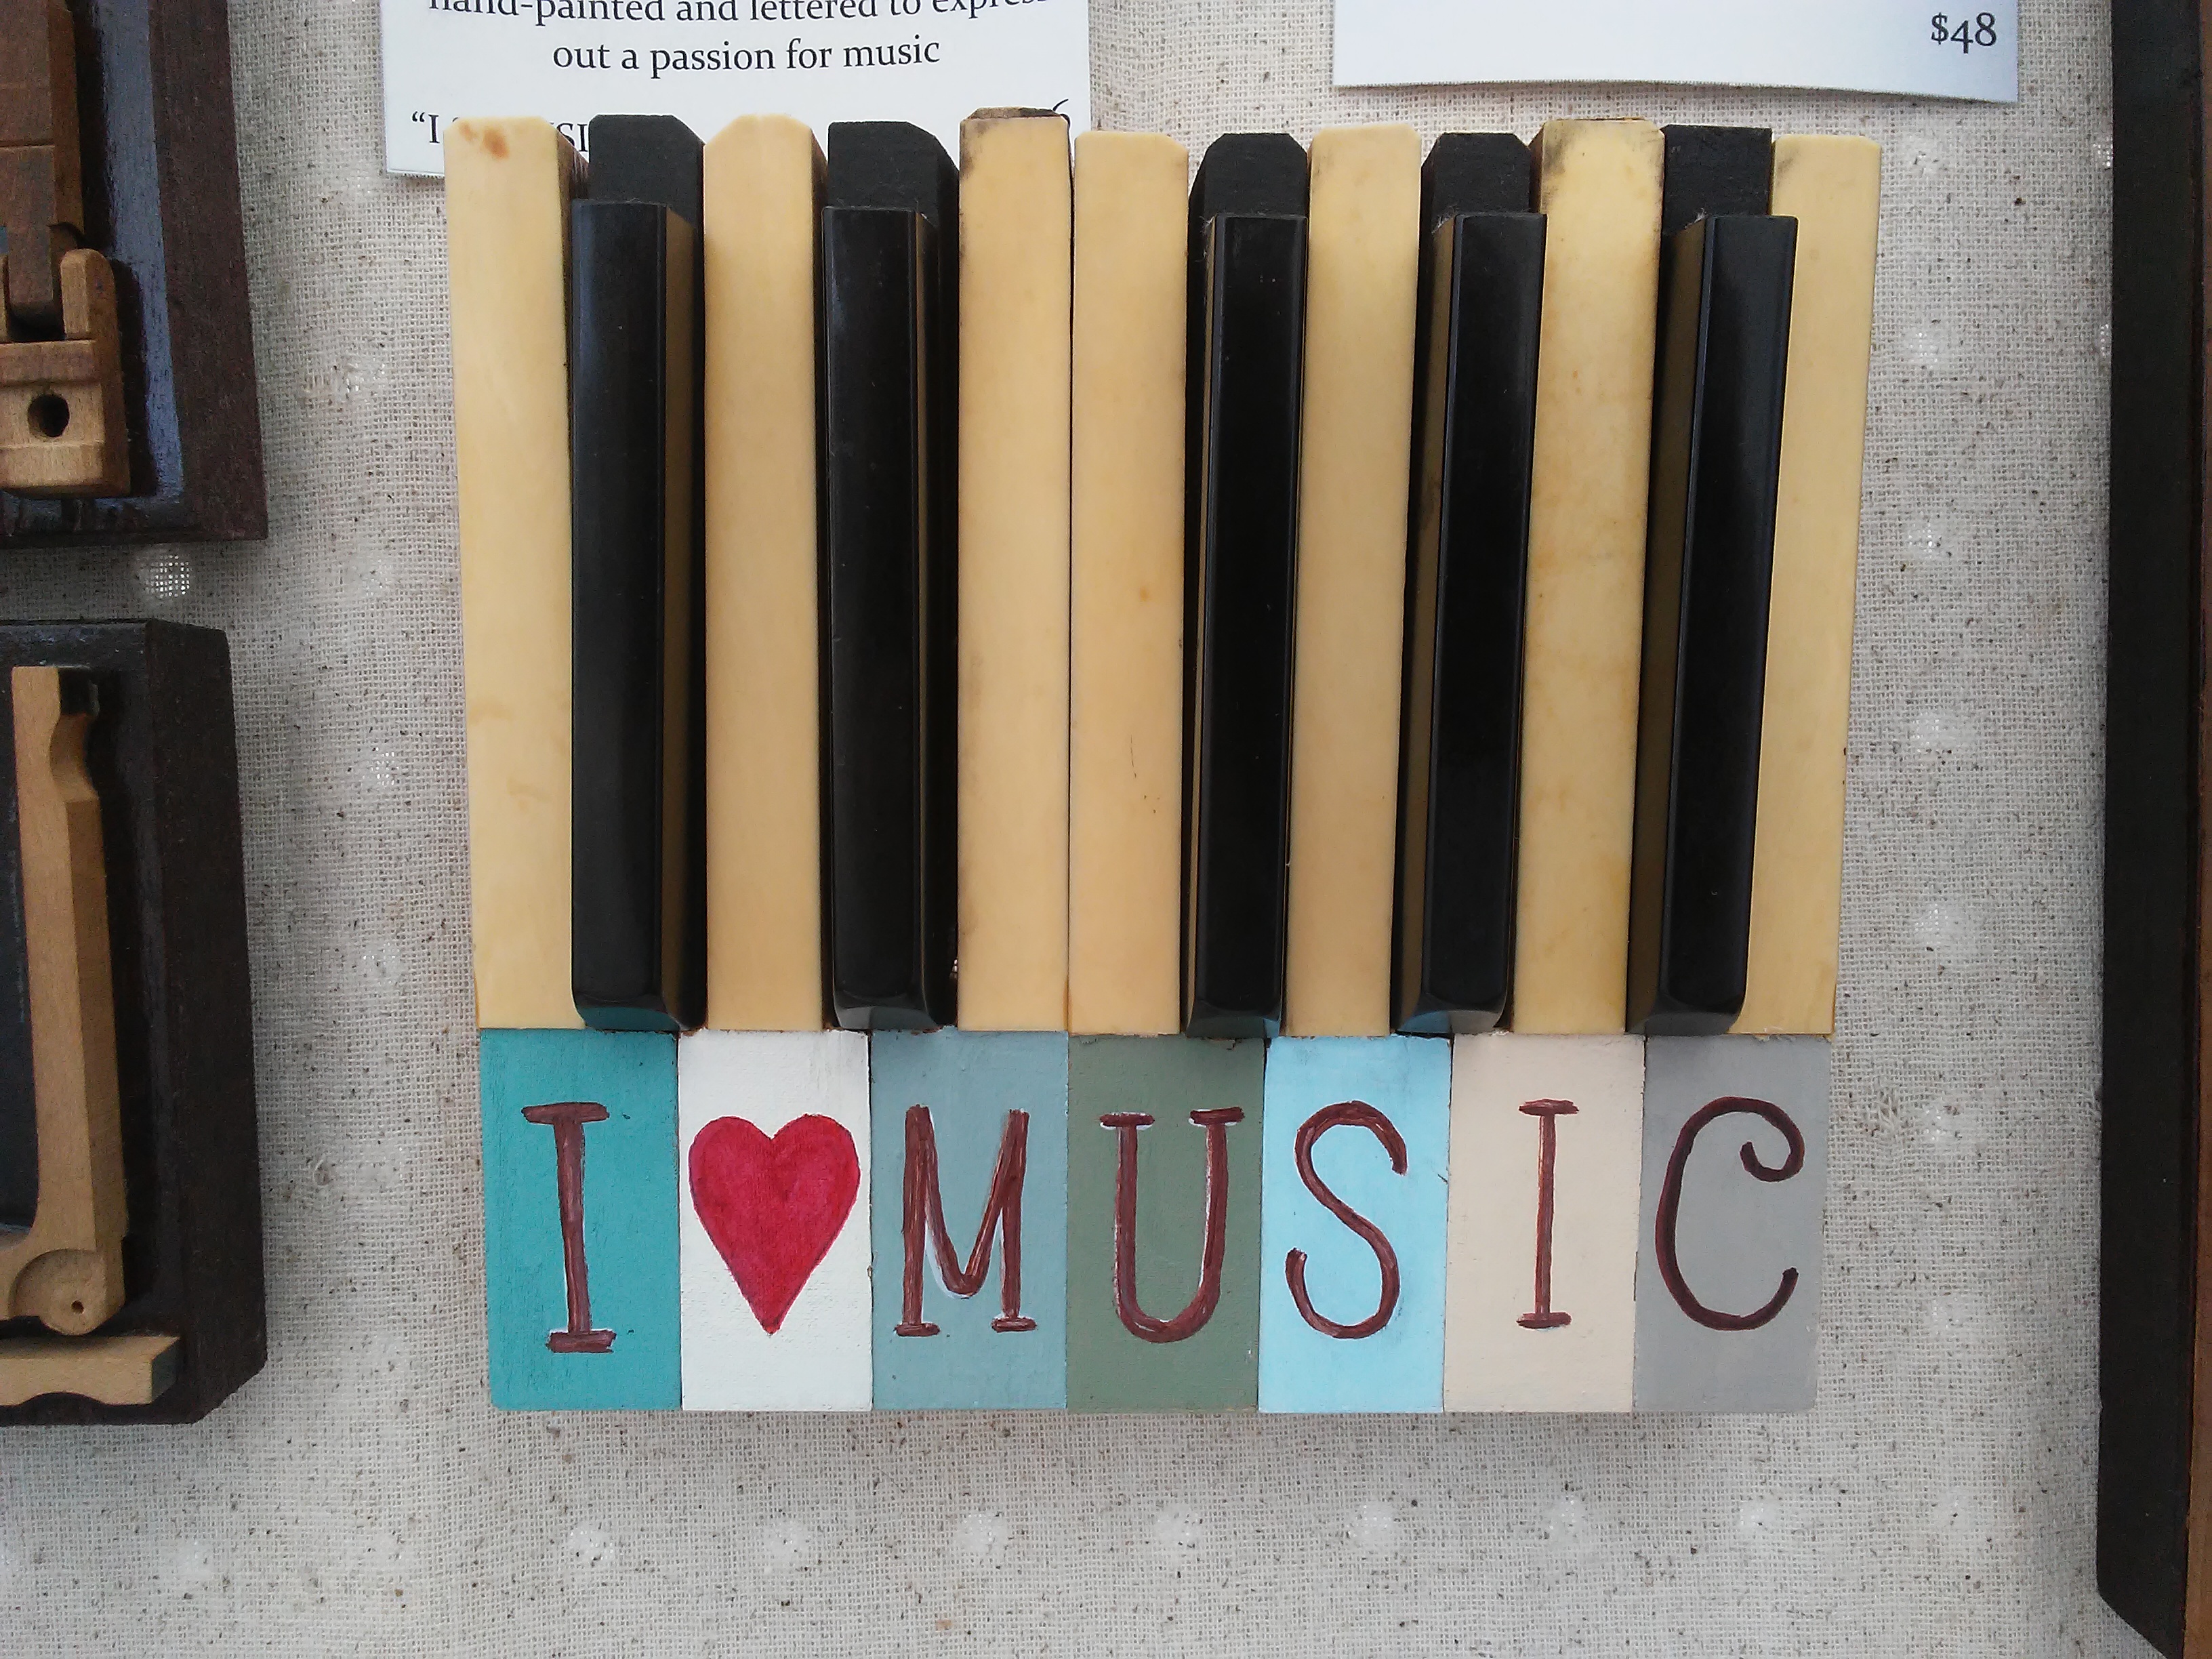
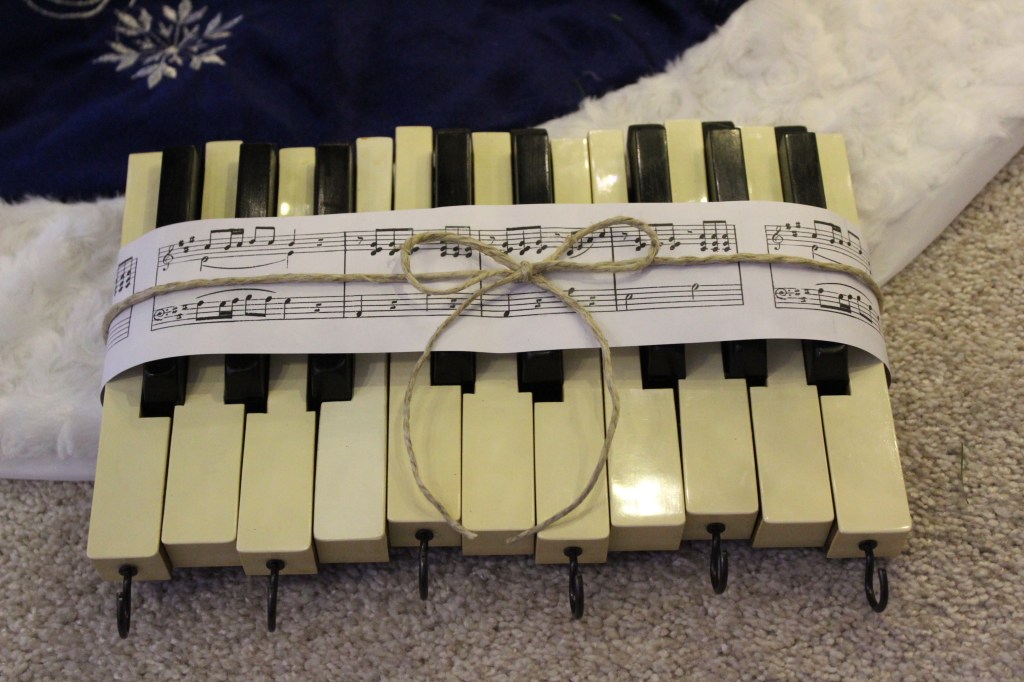
The next change came to the “I♡MUSIC” selection. My husband made a recommendation: “Why don’t you include the ebony keys between the ivories, as they appear on the piano?” Good idea. I’ve since made several that way. They do look nice, but they present another challenge to me: they have to come off the piano in proper order. The way I’ve been putting them together, the keys could be from anywhere on the keyboard. I’d simply gather the keys that were missing their keytop heads and mate them together. But ebony keys don’t fit between, say, two C keys. You have to have both C and D side by side. So while it’s possible to include the ebonies, I won’t make them that way exclusively from now on.
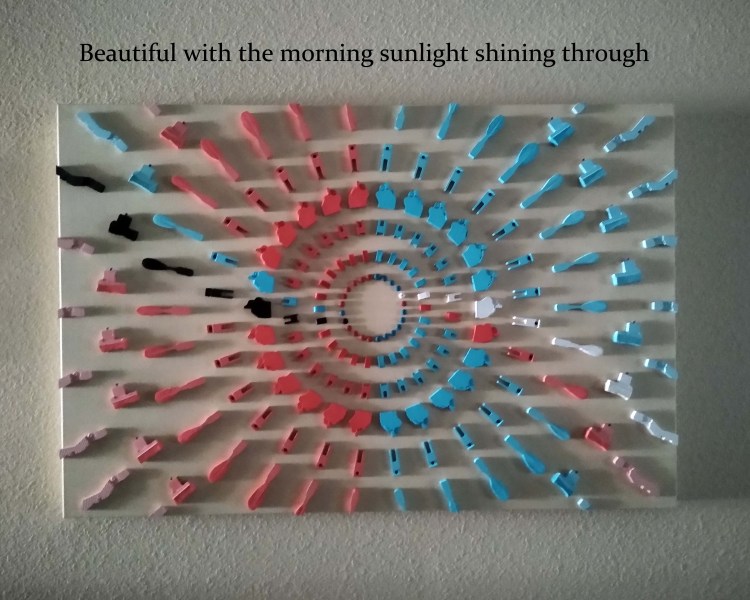
One advantage, however, to including the ebonies is that I can back the entire piece with thin plywood and install a sawtooth hanger, making the piece more versatile. For with a sawtooth hanger, the décor may either stand freely on a shelf or be displayed on the wall. Where there are no ebonies between the ivories, there isn’t a place to attach a sawtooth hanger. Granted, I could use two smaller hangers, one on each end. I’ll think about it. . . .
How can I make it mine?
Some of the Love Letters are still in stock, including I♡MUSIC and HOME. Incidentally, I changed up HOME a bit, so that it now says, “With You I Am HOME.” I did this after hearing that expression used in not one, but two movies. It’s a sign! ☺
♬ ♬ ♬ ♬ ♬ ♬
Thank you for joining me on this tour of the studio. I look forward to seeing you on the next one. Until then, I invite you to check out photos of my other work in the gallery. Enjoy the rest of your day!


")
")
")
")
")
")
")
")
")


")


")
")
")
")
")
")

")
")
")
")
")
")
")
")
")
")
")

")
")
")
")
