From the Studio: Attracted to Music

Welcome back to my piano art studio. Today I’d like to share with you something simple yet practical.

Hundreds upon hundreds

Every piano has 88 keys, right? And every key has its own corresponding hammer. And I have disassembled 25 pianos to date. Excuse me a moment while I do the math…. Yes, that equals 2,200 hammers that have passed through my hands.

But wait… there’s more! A few technicians have given me old parts by the boxful. Add to that the hammers I’ve purchased to meet some special need, and the number above could easily be doubled. No matter how you look at them, that’s a lot of hammers!

What to do with them

Hammers have appeared in a good many of the mixed media art pieces I’ve created, as well as several of the home decor items. The reason for this is that they are easily recognizable as coming from a piano. Not everyone knows their proper name, but pretty much all know how they are used in a piano: to strike the strings and start the vibration that makes music.

Apart from key chains, of which I’ve made more than 1,000 to date, I’ve really found myself attracted to the idea of making magnets. Okay, that was corny, I admit. But you would’ve said it too.

The process

As simple as magnets appear to be, they do take a bit of time to put together.

  1. Separate the bridle strap from the bridle wire.
  2. Unscrew the hammer from the action assembly.
  3. Remove the bridle strap from the hammer with a box cutter.
  4. Scrub the entire hammer thoroughly with a wire bristle brush to remove dirt and dust.
  5. Cut the head away from the shank. (And while I’m at it, also cut the butt [i.e. “chicken”] from the other end of the shank.)
  6. Sand all cut edges.
  7. Set aside the largest hammers to be made into magnets; store all the remaining pieces to be used later in other crafts.
  8. Choose the more attractive side of the hammer head and use E-6000 adhesive to glue the magnet button to the opposite side.
  9. Clamp magnet and hammer head for good adhesion; let the adhesive set.
  10. Print out the half-sheet “Story Behind the Art” for hammer magnets.
  11. Fold the half sheet to fit both it and the magnet into a small zippered pouch.
  12. Add personalization whenever requested. Sometimes I practice first on another hammer head, particularly if I think it’ll be hard to fit the phrase or name in the available space.

How to use them

The button magnets I utilize are nice and strong, making these devices useful for holding whatever you wish to display, whether it’s tickets to the next ball game, a photo of your loved one, or your kindergartner’s artwork. Use them on any magnetic surface:

  • refrigerator
  • locker
  • file cabinet
  • mirror
  • dry erase board

Hammer magnets can also serve as keepsakes or mementos when you ask me to write names and dates on them. A piano teacher could give a magnet to each of her students, personalized with the date of their piano recital, which the student could then use in their locker at school. It’s a thoughtful and affordable gift on any teacher’s budget.

And this gift idea works well in the other direction too—from the student to the teacher. What mentor wouldn’t be thrilled with a magnet she can proudly display that bears her name and the phrase “#1 Piano Teacher”?

How can I make it mine?

The hammer magnets are available in my shop to purchase individually or in sets of eight. Personalization is optional, but it is free if you choose to do so. I know you feel drawn to go check them out, so I’ll see you soon at Etsy!

♬ ♬ ♬ ♬ ♬ ♬

Thank you for joining me on this tour of the studio. I look forward to seeing you on the next one. Until then, I invite you to check out photos of my other work in the gallery. Enjoy the rest of your day!

From the Studio: Variations on a Theme

Welcome back to my piano art studio. Today I’d like to share with you a piece that may possibly be described as a “happy accident.”

The theme

In a previous article I told you about “Middle C,” which is made using the keys C, D, and E, with the sharps between them, mounted to a piece of wood cut from the piano cabinet, and framed with the key extensions. This is the theme for what would turn out to be a variation.

When I make “Middle C,” I usually make them in batches of five or more. They sell quickly, so I like to have several on hand. I start by cutting the wood to the 7″ x 10″ pieces, then I sand each one until the edges are nice and smooth. Next, I select the key extensions that will form the frame around the edge of the wood, measure, mark, cut, and sand them. When that is done, I select the flanges and letoff buttons that I wish to use for these pieces and check to be sure their a good fit. Then, when all the pieces have been assembled, I take them outside to apply a spray varnish.

The variation

The key extensions are cut specifically for each individual piece of wood, since exact measurements may vary a little from one to the other. For that reason, I like to stack them together with the boards to which they were cut.

One day, while in the process of making a fresh batch of Middle C’s, a brand new idea came to me. To keep from them, I had arranged the key extensions in such a way on top of each panel that they formed a sort of diagonal, rather than leaving them along the edges. It struck me that this arrangement was actually quite beautiful and could stand on its own as unique design. Then, rather than using keys to complete the view, I placed a hammer across the whole.

It wasn’t long before I realized that these too could be customized, by adding an ivory keytop tail in the space beside the hammer. This opens the door for a myriad of possibilities.

The name

Since this design is a variation of that used to create “Middle C,” I decided to call it “Variations on a Theme.” In fact, I’m listening even now to Brahms’ Variations on a Theme of Paganini, Opus 35. In my mind, I see the name written on one of the many albums my mother had in her collection.

The finish

As with the “Middle C,” on the back I add a half-sheet “Story behind the art,” a sawtooth hanger, and two felt bumpers on the bottom corners (a.k.a. key rail punchings), and with that the piece is finished.

How can I make it mine?

Variations on a Theme” is available in my shop.

♬ ♬ ♬ ♬ ♬ ♬

Thank you for joining me on this tour of the studio. I look forward to seeing you on the next one. Until then, I invite you to check out photos of my other work in the gallery. Enjoy the rest of your day!

From the Studio: Middle C

Welcome back to my piano art studio. Today I’d like to share with you a piece that has come to mean a lot of things to a lot of people.

A new backdrop

Years ago I decided to create some pieces mounted on wood from the piano case rather than a stretched canvas. After all, I had lots of wood at my disposal. To begin with, I took a footboard (the panel at the bottom front of the piano, which conceals the strings and the workings for the pedals). I measured the board to see how it could be equally divided, and the result was a stack of smaller pieces measuring 7″ x 10″. I’ve used these measurements ever since.

Also in good supply, at the time, were keys I had taken from off the pianos. In particular, I had several sets of C, D, E, and the sharps between them.

The surplus was due to the fact that I had made quite a few pieces called “Keyed Up,” each of which incorporates two groupings of F-A and only one grouping of C-E. So I decided to showcase these small sets of keys by framing them in the extensions I had cut off of them.

A slight problem

What I didn’t realize was that piano keys are not a uniform thickness from one end to the other. Most of them appear to be, but when placed end to end, I could see the differences. That meant that could almost never have a clean corner on my frames. So I fixed the problem by adding embellishments to each corner, namely, a flange and a let-off button. They covered the imperfections nicely and added a bit of interest in the process. The felt on the letoff buttons can vary in color. In fact, I have found various hues of green, gold, red, and white. I usually incorporate the felts, to add a tiny splash of color; but sometimes I use letoff buttons that have lost their felts, and I think it looks good that way too.

A fitting name

Because this key display always incorporates and begins with the C note, I decided to call it “Middle C.”

A personal touch

The idea to turn “Middle C” into a commemorative plaque started with a custom order. The long-time organist at a particular church was getting ready to retire, and the congregation wanted to recognize his many years of service. Together my customer and I came up with a way to do this.

Since then, many other Middle C’s have been graced with a personal touch to commemorate an anniversary, retirement, or other special occasion.

To repair keys that had lost their ivories, I had purchased several recycled ivory keytop tails (the long skinny part of the ivory key) and heads (the shorter, fatter portion of the key). As it turns out, the tail fit perfectly on the bottom of the frame.

Since ivory is translucent, I paint the back with white so the wood won’t show through. And before adding the inscription, I trace the shape of the ivory tail onto a paper sack and practice writing in that space so I’ll know exactly how I want it laid out. When I’m satisfied with my draft, I then do it again on the ivory keytop tail. I first write in pencil, then go over it in ink. When the ink has dried, I seal it with two coats of varnish. Then when the varnish has cured, I glue it down to the frame.

Whether the “Middle C” is personalized or not, on the back I add a half-sheet “Story behind the art,” a sawtooth hanger, and two felt bumpers on the bottom corners (a.k.a. key rail punchings), and with that the piece is finished.

How can I make it mine?

It’s hard to keep these in stock, as they are one of my best sellers. But as long as I have one available for sale, you’ll find the “Middle C” here in my shop. When you get there, select the option that works best for you, whether standard or customized. Because of their popularity, I always keep this listing active, whether I have any completed Middle C’s in stock or not. When made to order, they usually take me a week to build; but if you find one in stock, you can have it in just a few days. In fact, I’m working on three of them right now: one to fill an order, and two more for you to choose from.

♬ ♬ ♬ ♬ ♬ ♬

Thank you for joining me on this tour of the studio. I look forward to seeing you on the next one. Until then, I invite you to check out photos of my other work in the gallery. Enjoy the rest of your day!

Angela’s Piano Barn: Open for Business

Welcome back to my piano art studio. Today I’d like to share with you—not something I’ve made—but the brand new space where pretty much all of that work takes place.

Purchasing a shed

In July 2020, my husband and I ordered a shed to be delivered to our house and set up in the back yard. That shed was to be my workshop. It was beautiful, and huge! And it had a covered porch all the way down the length of the front. I had to sacrifice the swimming pool to make room for the shed. But, oh, I could just imagine spending the evenings on the porch, rocking in our Cracker Barrel rocking chairs, sipping on glasses of iced tea, and enjoying the sunset after a long day of work.

But those plans went by the wayside as soon as we realized that our dream shed was NOT going to fit between our house and our neighbors’ house. So after carefully measuring to be sure it would work, we chose the largest model that logistics would allow: a 12′ x 24′ barn-style shed with a window on either side of the spacious double door. We had to wait several weeks while they built our shed, and it was delivered in November on a drizzly day. But not even the chilly rain could dampen our spirits as we watched our brand new building come into the back yard, led by a very skilled driver. He literally had two inches to spare on either side, but he got it in with no damage whatsoever to our property or our neighbors’.

Fleshing out the carcass

My husband, who is skilled at a good many things, ran wiring to the shed so that I’d have lights and electrical outlets. The inspector thought it came pre-wired because my hubby did such a great job. After the inspection, Patrick and I, along with our son Matthew, worked together to hang drywall. We finished it off with baseboards, chair rail molding, and trim along the top, stopping just short of the lofts. On both ends of the workshop, my husband installed pegboard for me, and we trimmed that out as well. He did most of the mudding and sanding, and I did the painting. We also reinforced the floor with an extra layer of plywood, which I painted, speckled with paint chips, and sealed. Someone in a neighborhood near ours donated his old kitchen cabinets for the workshop. What a blessing that was! We discarded the sink and replaced the countertop. When I had decided on a layout, Patrick fastened the cabinets to the wall, and I got busy painting them too.

All decked out

By design, the workshop sits about 19 inches off the ground. So to get the pianos inside, we needed to build a deck and a ramp. The deck was finished in two days, thanks to my hubby’s expertise and Matthew’s help. The three of us worked hard those two days, and we were quite pleased with the result. The deck measures 8′ x 24′ and runs the entire length of the shed. A single step wraps around the porch, and the corner on one end is angled toward the gate, to make it easier to move the pianos in and out. My husband decided to order an aluminum ramp instead of building one from wood, and that has proven to be an excellent idea. It leads to the deck at the perfect angle and can be put away when not in use.

While shopping around for the rocking chairs I wanted, I found a used one for $40. After about three coats of paint, it looked almost as good as new. We still don’t have a second one, but Matthew gave me his hammock stand, which we had been sharing up to that point, so I can choose whether to sit in the rocker or swing in the hammock. I even take my Sunday naps out there from time to time. In foresight, Patrick installed two 4’x4′ posts while we were building the deck, and those posts now support the sun sail shade which covers a part of the deck. At some point we may cover all of it, but for now, the one does what we need it to. We also have considerable shade from two oak trees.

A year in the making

The workshop and deck technically were finished in February, and right away I began moving in. I had planned the layout of the workbenches, shelving, and pianos, but I miscalculated. Oops! Consequently, we still have two pianos taking up space in the garage. But we moved out of the storage unit, and that was the most important thing to do.

Even though I’ve been working out there for a while, I put off sharing my Piano Barn with you because it still lacked a couple finishing touches. In particular, the countertops were not cut and installed until this past summer—in August in fact—just over one year from the date that we first ordered a shed. I really wanted to take a picture of the studio side with the countertops in place. It is so beautiful, and I love working in there! But alas, I got sick, really sick, and even now several weeks later I never have updated the photos. Oh, well. Right?

Angela’s Piano Barn, est. 2020

The name was my husband’s idea, since we went with the barn style. I’ve been creating piano art since 2011, but the barn is new, hence the date.

I really love the lofts, and both of them are full. The one on the workshop side contains piano cabinet wood accumulated from the 24 pianos I’ve disassembled; while the one on the studio side is filled with blank canvases and boxes of action pieces that I’ve already disassembled, cleaned, and sorted.

At this point I have three piano cases which I use as workbenches. (Actually, one of those is holding parts to a dismantled player piano, so it’s pretty much out of service for now.) Additionally, I have three more piano cases which I intend to convert into desks. In a moment of impatience, I moved a piano into the workshop with the help of my daughter, since the men were not available. We got it in, but I hurt myself in the process, and now I deal with chest pain from costochondritis. This has slowed me down considerably, when it comes to the heavy work of making the desks.

As a finishing touch to the workshop, we purchased a portable air conditioner, a dehumidifier, and a heater, to make working conditions more comfortable. Yes, even in Florida we need a heater. Here in Northwest Florida, the temperature drops to about 20 degrees overnight during the winter.

My rather spacious-looking workshop is cramped on the inside… for now. But the close quarters are merely a motivation to me to keep my work area clean. And once in a while I look around and envision a space without the three piano desks, once they are completed and moved either to a store or to their new home.

♬ ♬ ♬ ♬ ♬ ♬

If you’d like to see examples of things I’ve made in the Piano Barn, hop on over to my shop.

Thank you for joining me on this tour of the studio. I look forward to seeing you on the next one. Until then, I invite you to check out photos of my other work in the gallery. Enjoy the rest of your day!

From the Studio: Solfege

Welcome back to my piano art studio! Today I’d like to share with you some interesting things I made from pieces of the 1866 Steinway upright piano.

Fascinating Construction

As I do with every piano, once I got it home, I began to take it apart and study the construction of the individual pieces. All uprights have certain things in common. For instance, they all have hammers, jacks, wippens, backchecks, and so forth. However, they are not all made the same. Sometimes the difference is a matter of practicality, as smaller pianos must have smaller parts that are arranged a bit differently from those found within the upright grands. But sometimes the difference, I believe, is in the style of the manufacturer.

The 1866 Steinway had a wippen assembly that functioned exactly like any other wippen assembly I’ve ever seen—with its jack, flanges, bridle wire, backcheck wire and felt, and the damper spoon. However, the way these parts went together was unlike anything I’d ever seen, and at that point I had taken apart twelve other pianos. The major difference was with the jack, a smallish piece that looks somewhat like a hammer (in most upright pianos, that is). The jacks inside the 1866 Steinway were made of two individual pieces of wood instead of the solid construction I normally see. Also, the part that is normally quite short was in this case almost as long as the longer side, and it was hollow. In most uprights, the backcheck and bridle wires rise behind the jack; but in the case of the 1886 Steinway, the backcheck and bridle wires came up through the hollowed jack. This was a construction I had never seen before, and it fascinated me. For that reason, I wanted to use some of the wippen assemblies in their entirety, to display the unique manner of their construction.

With this in mind, I arranged three complete wippen assemblies in a pinwheel formation in the center of a 12×12 canvas, which I had painted a neutral tone. Then I framed it with “loose action pieces,” namely: jacks, letoff buttons, and backchecks also from the old Steinway. To finish the framing, I used treble hammers from two different grand pianos: one old, like the Steinway, and one newer, to provide a color contrast. I did not use the Steinway hammers because they were reserved for a different project.

A Star Is Born

Getting back to these most unusual jacks, I discovered that their proportions made them perfect for forming a star. I’ve never been able to do this with any other jack because they are too disproportionate for such a design. So I created a second design with the star in the center, using jacks that still had their bit of red felt on them, because the bright red made the star pop with color. The border is composed of a variety of flanges from different pianos of differing ages, with differing patinas. The corners of the canvas are marked with letoff buttons, and just inside each corner is a fan of hammers from both upright and grand pianos.

Now for a Name

As I’ve stated many times before, coming up with a name for my designs is the hardest thing I do. These two creations were no exception. I decided on “Solfege” because the solfege syllables are the building blocks of music, just as these wippen assemblies, together with other action pieces, are the building blocks of piano music.

How can I make it mine?

The “Solfege Triplet” is already sold, but the “Solfege Star” is still available in my shop.

♬ ♬ ♬ ♬ ♬ ♬

Thank you for joining me on this tour of the studio. I look forward to seeing you on the next one. Until then, I invite you to check out photos of my other work in the gallery. Enjoy the rest of your day!

Steinway Pianos, Part 2

My Steinway

The serial number in my Steinway upright piano (13175) dates it to 1866. In fact, the metal case found in this piano was patented on June 5th of that very year (according to the engraving on the plate). The patent reads:

Patent 55,385, William Steinway, dated June 5, 1866, Improvement in Piano-Fortes. This patent claims as new “The use in piano-fortes of a metal case cast in one solid piece, consisting of the plate a, braces b, rafters or brace-frame c, and a connecting piece or flange running round on three sides of the case and supporting the regulating apparatus, leaving one side open for the insertion of the sounding-board with its bars and bridges.”

Does this mean that the Steinway piano which has come to me was one of the first upright pianos with a cast iron frame? Wow! It’s certainly one of the heaviest of the 20+ pianos my sons and I have moved!

Another thing I recently learned is that Steinway began building pianos with 88 keys in 1868. I was curious, so I went back to my workshop immediately and counted—sure enough, my piano had only 85 keys, which was common in the 19th Century.

Steinway published their first illustrated catalog in 1865, just one year before my piano was built.

What I Did with It

When I had accumulated twelve pianos, I decided twelve was enough. I had more empty cases than I had room for, and enough action pieces to keep me going for years to come. But then someone approached me, saying, “I have an old Steinway. Someone started a restoration on it, but never finished, and now it’s too far gone. Would you be interested?” Would I be interested? Who can so no to a Steinway? A few days later my son and I showed up with a trailer, and we gladly took that rugged old piano off his hands. Incidentally, this man is now my choir director, and I enjoy keeping him apprized of what’s going on with his contribution.

When he said it was too far gone for restoration, he wasn’t kidding. The finish was very badly damaged and dried out; the veneer was peeling in several places; the action pieces were filthy dirty, and several were dry-rotted and broken; and the name had been removed from the fallboard when someone was preparing it to be stripped and refinished. Immediately I went online to see if I could find a replacement for the fallboard label. Indeed I found it. . .and paid $50 for it. Not long after that, I had cause to praise God for leading me to look for the label on that exact day; for the very next day Steinway revoked all rights to distributors to sell the labels. They didn’t want to the run the risk of people buying the labels and placing them on pianos not built by Steinway. I get that.

The label I purchased is still carefully preserved in the packaging, as I’ve still not gotten around to refinishing the fallboard. But when I do, it will become a wall-mounted shelf, and will be available for sale.

The keys were in pretty good shape. The wooden parts were original to the piano, but the ivory had all been replaced at some point. I have long since removed the action and keys and used them to make gifts for many of my customers. A few finished art pieces remain available for sale, and I still have some raw piano pieces waiting to be turned into their own forms of art.

Also, I’ve reserved the case, with the intention of turning it into a desk. Because of the engraving and the beautiful craftsmanship of the iron plate, I’ve left it inside the piano. The strings remain intact as well. The case is rather heavy, even without the moveable working parts, but it will receive a new set of casters, which will enable it to roll easily without marking the floor. In fact, I’ve borrowed a piano tilt from the same man who gave me the Steinway, to use in easily laying the piano down to do the repair underneath, then pick it up again. When I’m ready to begin the build, I’ll let you know, so that those of you who are interested may follow the process. But first, I want to practice on a lesser known model, since piano restoration and furniture building are new to me.

Other Events in 1866

My study of the history of the Steinway company piqued my curiosity about other events. Particularly, I wanted to know what was going on in the United States and in the world during the year when my Steinway was built. Here are some of the things I discovered:

In the United States

  • March 13 — The United States Congress (Republican majority) overwhelmingly passed the Civil Rights Act of 1866, initiating protection of the rights of African-Americans; President Andrew Johnson (D) vetoed the bill on March 27, and Congress overrode his veto on April 9.
  • April 10 — The American Society for the Prevention of Cruelty to Animals (ASPCA) was founded in New York City by Henry Bergh.
  • May 16 — The U.S. Congress approved the minting of the nickel as a five-cent coin, and subsequently discontinuing the half-dime.
  • July 24 — Tennessee became the first U.S. State to be readmitted to the Union following the American Civil War.
  • July 25 — Ulysses S. Grant became the first man to hold the rank of General of the Army (now called five-star general).
  • Also in 1866, the Minneapolis Milling Company (now known as General Mills) built its own mills. The history of General Mills is a compelling read.

In the World

  • May 10 — A London bank collapsed, precipitating The Panic of 1866.
  • June 14 — Austria and certain German states declared war on Prussia.
  • June 20 — Italy declared war on Austria.
  • August 23 — The Treaty of Prague ended the Austro-Prussian War.
  • October 12 — The Treaty of Vienna ended the war between Austria and Italy; Venetia was annexed by Italy.
  • Also in 1866, Alfred Nobel invented dynamite in Germany. (With regret for creating an instrument of destruction, he later established the Nobel Peace Prize.)
  • Sweden initiated a series of progressive reforms for women’s rights with recommendations from the Girls’ School Committee of 1866.

In Music

  • March–December — Peter Ilyich Tchaikovsky wrote his Symphony No. 1, “Winter Daydreams.”
  • May 30 — Bedrich Smetana’s opera The Bartered Bride debuted at the Provisional Theatre in Prague.
  • November 3 — German composer Paul Lincke was born. He is considered the father of the Berlin operetta.
  • Also in 1866, Theodore Thomas conducted the New York Philharmonic Orchestra in the American premiere performance of the Prelude to Act 1 of Wagner’s Tristan und Isolde.
  • The first Steinway Hall opened in New York, with a seating capacity of 2000 in the main auditorium.

Bibliography

americanhistory.si.edu

steinway.co.uk

pianobuyer.com

steinway.com

steinwaypianos.com

Steinway Pianos, Part 1

“Today’s Steinway: We still make them like we used to… only better.” So states their official U.S. website. Steinway & Sons has been crafting superior pianos since 1853.

The Founder

Heinrich Engelhard Steinweg was born February 15, 1797, in Wolfshagen, Germany. He served in the German Army from 1812 to 1822, then left the service and began work as a carpenter. While apprenticed to an organ maker, he discovered his love for music. He began making instruments of his own—first guitars and zithers, then gradually escalating to building pianos. In 1836, in the town of Seesen, Germany, he built his first grand piano in his kitchen, and gave it to his bride, Juliane, as a wedding gift. That same year Steinweg moved out of the kitchen and into a shop, where he built nearly 500 more pianos over the next decade—an average of one piano per week. Juliane bore him nine children, and when the family immigrated to the United States in 1850, two of his sons, C. F. Theodor and Wilhelm, remained in Germany to keep the piano shop in operation.

Soon after arriving in the U. S., the Steinweg family americanized their name to Steinway. At first Henry and his sons worked for other companies in the piano business, then on March 5, 1853, they opened Steinway & Sons.

In 1865, tragedy struck the Steinway family when two of the sons, Charles and Henry Jr., as well as the factory foreman Theodore Vogel, all died. In the same year, Albert enlisted in the Union Army (Civil War). With the loss of so much leadership in so short a time, C. F. Theodor sold his share of the German-based company and moved to New York to help keep his father’s company going. Henry Steinway, Sr., died February 7, 1871, just shy of his 74th birthday.

A few of the earliest pianos Henry made in Germany are still in existence. His first piano, nick-named “The Kitchen Piano,” still exists in its original condition. Depending on the source, you may read that it’s on display at the Musical Instrument Museum of Scottsdale, Arizona, at the Steinway & Sons factory in NY, or at the New York Metropolitan Museum of Art. I don’t think they’re inaccurate. Rather, I’m inclined to believe that the piano has been moved from time to time, and that it has indeed been at all these locations. Although I’m not sure of the date of publication for the various articles I read, I think perhaps today it is at Steinway & Sons. There is a Steinway piano located at the New York Metropolitan Museum of Art. Built in 1868, this one is called the “Plain Grand Style 2,” although when you look at the photo, you’ll see that there’s nothing plain about this model! This was Steinway’s first piano built with 88 keys, and incidentally, the natural keys are black and the sharps are white. It is the prototype for the Steinway Grand Model D.

Early Growth and Continued Production

In just one year Steinway & Sons outgrew their first building and moved to 82 Walker Street. In 1860, just six years later, they constructed what is still today the world’s largest piano factory between 52nd and 53rd Streets, on what is now Park Avenue.

In the late nineteenth century, it was common for piano manufacturers to open their own concert hall in order to showcase the unique voice of their instruments. The first Steinway Hall opened in New York in 1866, with a seating capacity of 2,500, and was the premiere concert hall until the opening of Carnegie Hall in 1891. Another Steinway Hall opened in London, England, in 1875; and in 1880, Steinway & Sons returned to their roots when they expanded the business to Hamburg, Germany. This plant was operated by Henry’s fourth son, William (Wilhelm). A second Steinway Hall in NY was built in 1925, when the first one was closed and the showroom relocated to West 57th Street.

Following the death of the founder in 1871, Steinway & Sons remained under family ownership for another 99 years. Henry Z. Steinway, great-grandson of the founder, was the last family member to participate in the making of Steinway pianos. Until his death in 2008 at the age of 93, he signed every custom-made limited edition piano.

The end of the family ownership was marked by a merger with CBS, Inc., in 1972, although Henry Z. remained president. Then in 1985, a group of Boston businessmen purchased the company and formed Steinway Musical Properties, Inc. This corporation merged with the Selmer Company in 1995, but both companies continued to operate independent of one another until Steinway Musical Properties, Inc. was taken public. John Paulson, of Paulson & Company, bought Steinway and privatized it again in 2013. The new showroom and music hall opened in 2015, at 1133 Avenue of the Americas (Sixth Avenue), and the manufacturing plant remains in operation at #1 Steinway Place, Long Island City, NY.

Key to Success

The reason Steinway & Sons has stayed at the top echelon in the piano manufacturing industry is because they continually look for ways to improve the process. I recently took a virtual tour of the Steinway grand production house and was impressed by the number of times that the tour guide said that such-and-such a process only came into use a few years ago, or maybe a decade ago. This tells me that although they already produce one of the finest quality pianos, they never tire of looking for ways to improve. From forming the body of the piano, to outfitting its interior, to applying the finish, to fine-tuning the sound, to packaging the completed piano for shipment, the manufacturing of every individual piano is performed by a symbiosis of man and machine. The few steps done by machine ensure uniformity and precision in the workmanship, while the many steps done by the skilled hands of artisans provide each instrument with its own unique voice while still maintaining that characteristic Steinway look, feel, and sound.

Steinway Contributions to the Industry

Steinway & Sons is responsible for bringing to the industry many qualities and construction techniques that we now think of as standard:

  1. Overstrung grand piano (1859). This means they crossed the bass strings over the treble strings, the way we see them in pianos today. This allowed for longer strings, thus providing a deeper, richer tone.
  2. Iron plate (1866). We’re all familiar with that heavy plate inside the piano. (Some people call it a harp, or mistake it for the soundboard.) The iron plate replaced the wooden one and is able to hold significantly more tension and will not warp over time, as the old wooden plates did.
  3. Accelerated Action (1931). This improved the reaction time of the action pieces when the pianist struck the keys. Steinway pianos have a characteristic double action, which gives them a faster response time than any other piano in existence.
  4. Diaphragmatic soundboard (1936). Since the soundboard is constructed of many thin sheets of spruce, approximately 6 inches wide, glued side-to-side and cut on the diagonal, the addition of ribs on the back of the soundboard give it better durability and stability while still allowing it to vibrate freely with the sound.
  5. Hexagrip pin block (1963). The pinblock is located at the top of the soundboard and houses the tuning pins (220 of them on average) for the strings of the piano. Steinway strengthened the pin block by laminating seven layers of hardwood maple in a staggered grain formation. This innovation improves the overall quality of the sound and allows the piano to hold its tune longer.

The Making of a Steinway

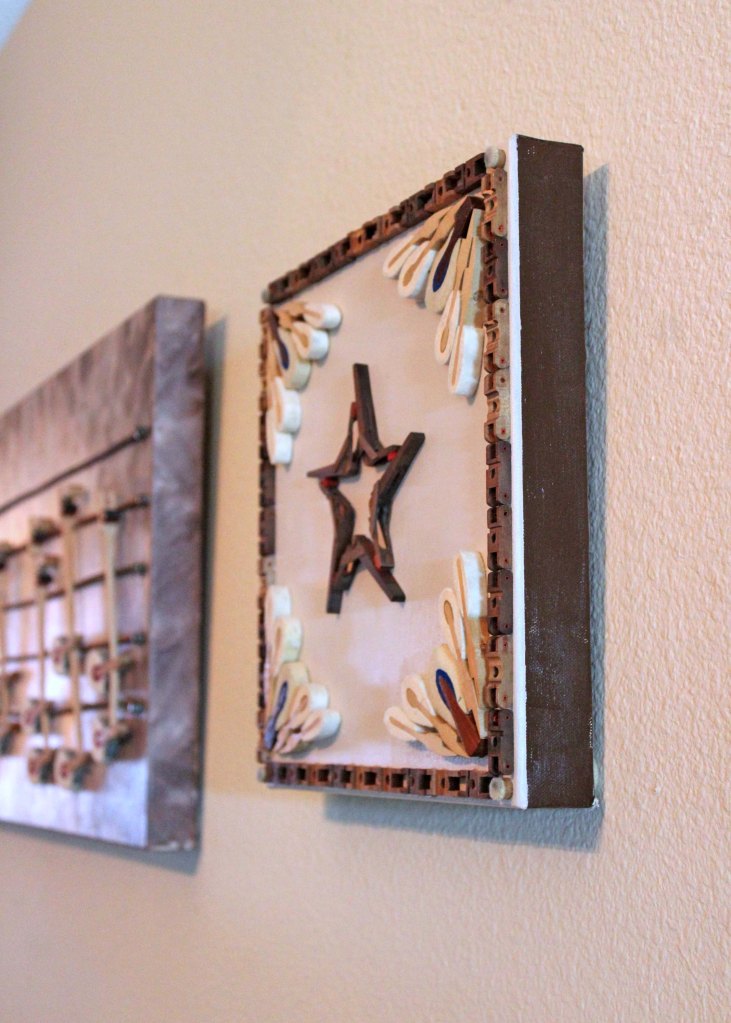
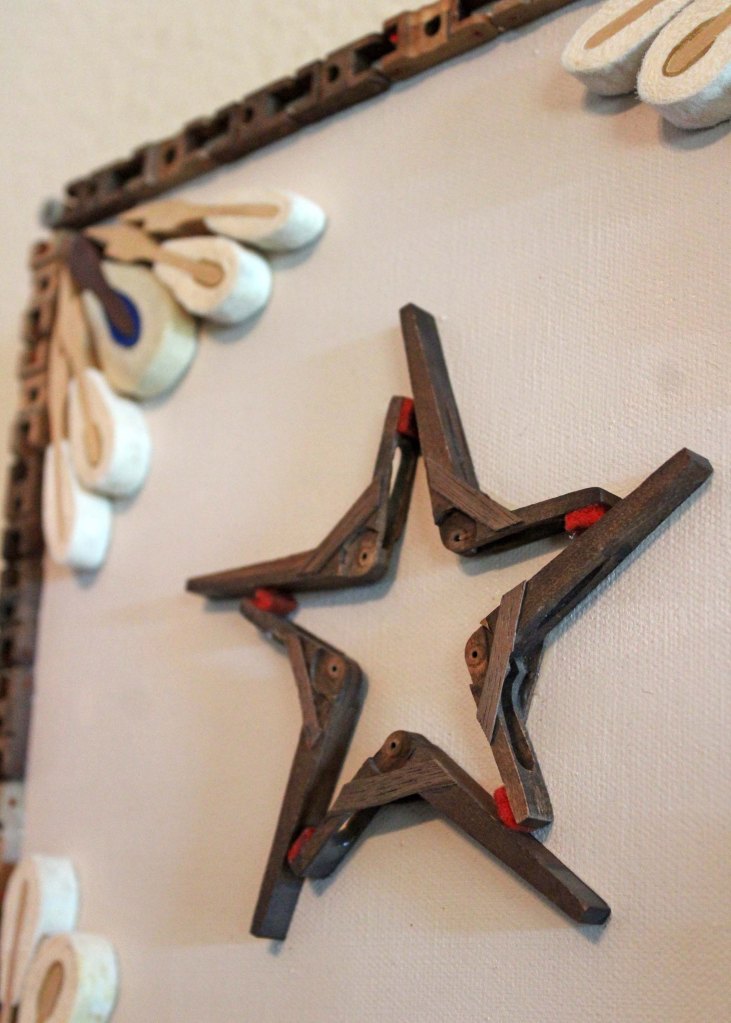
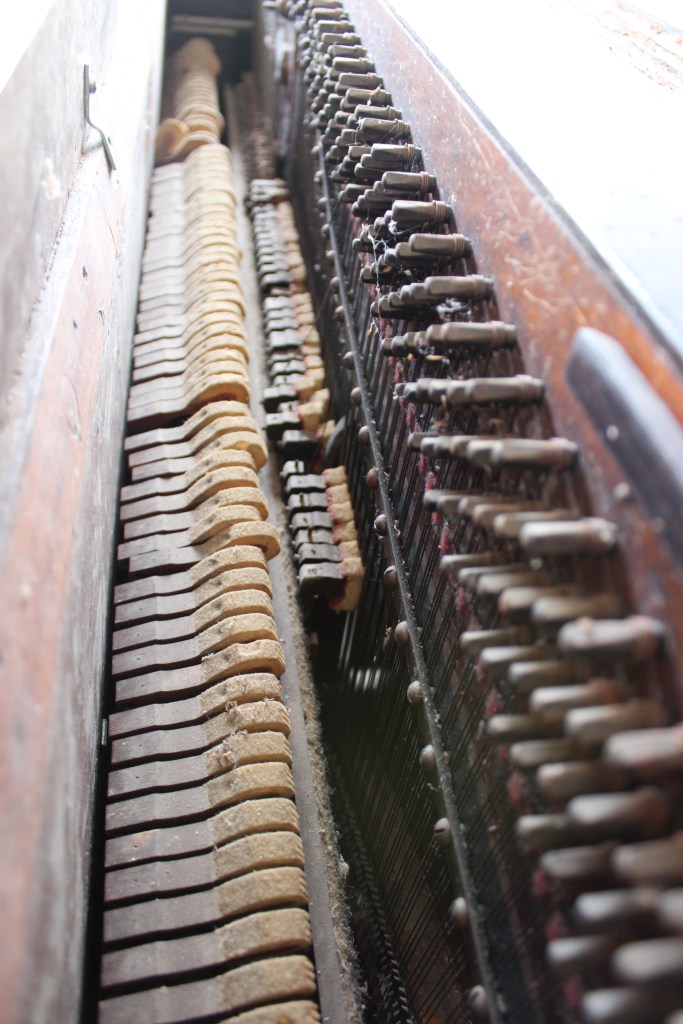
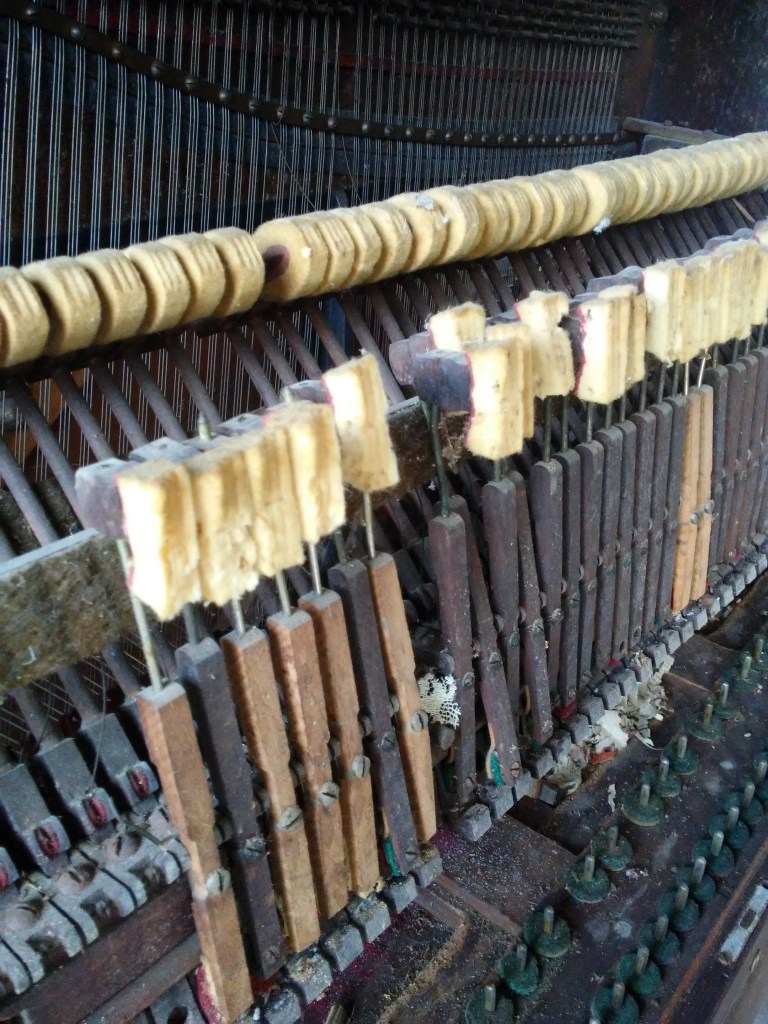
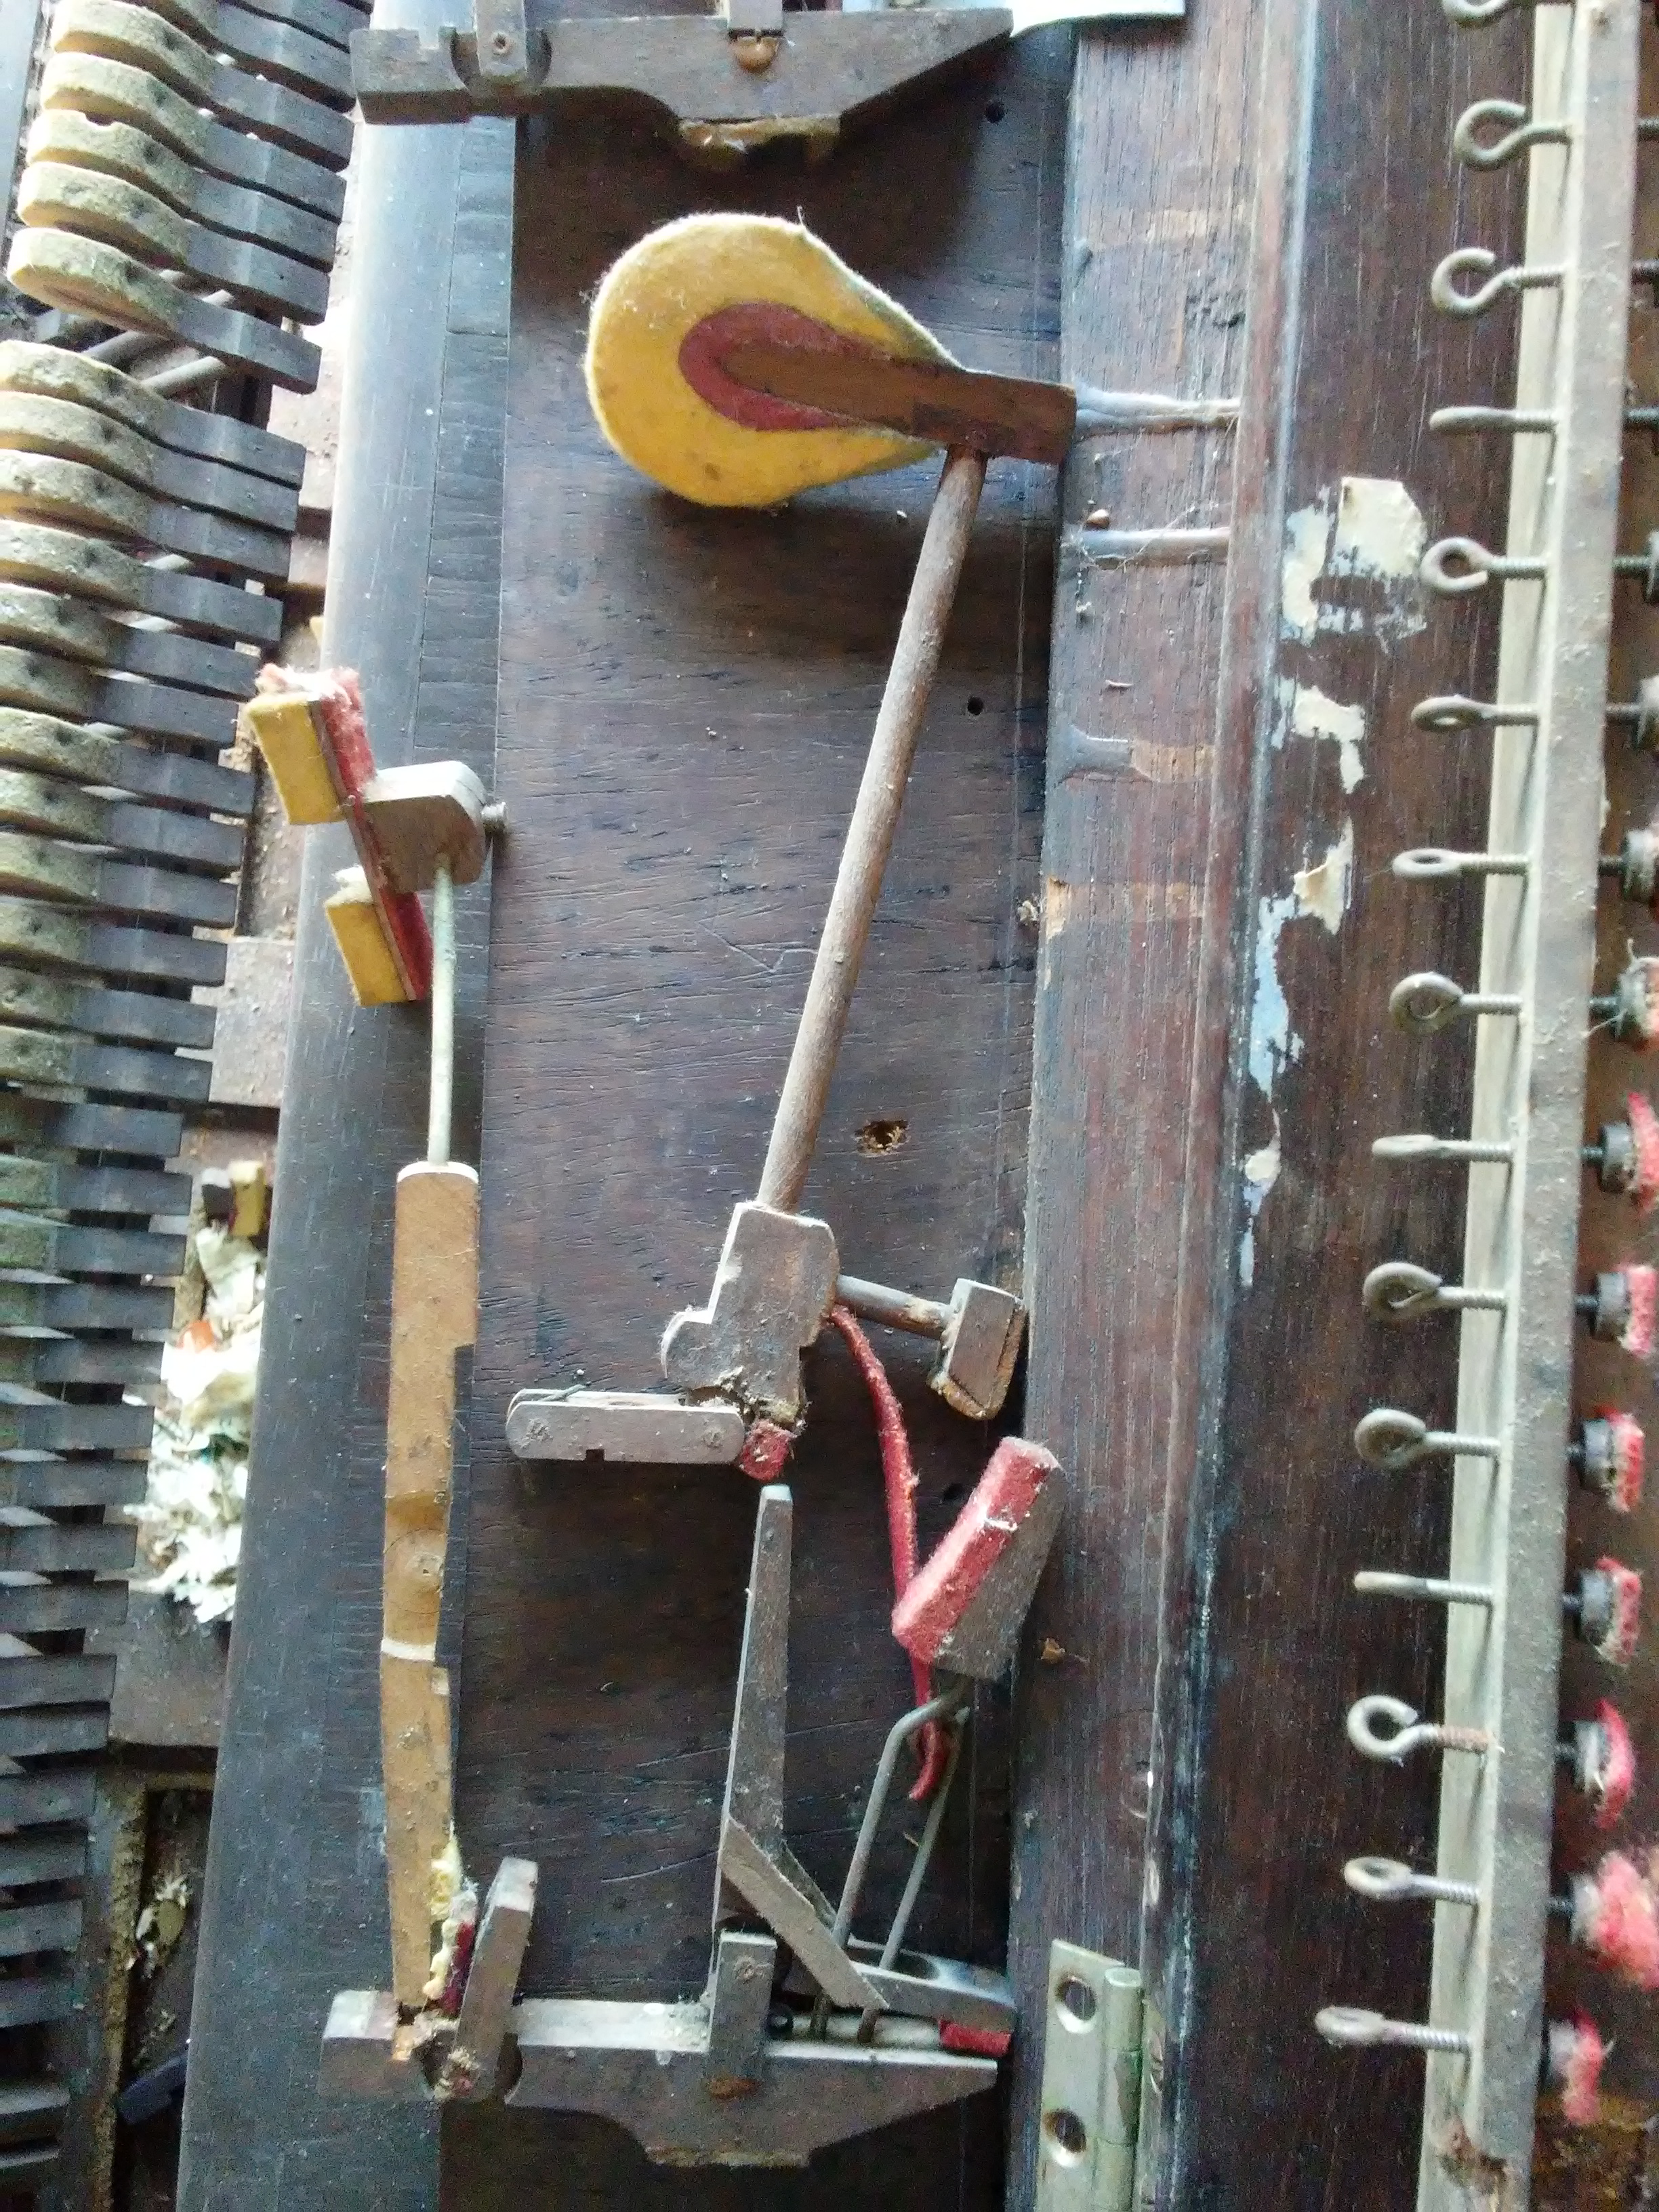
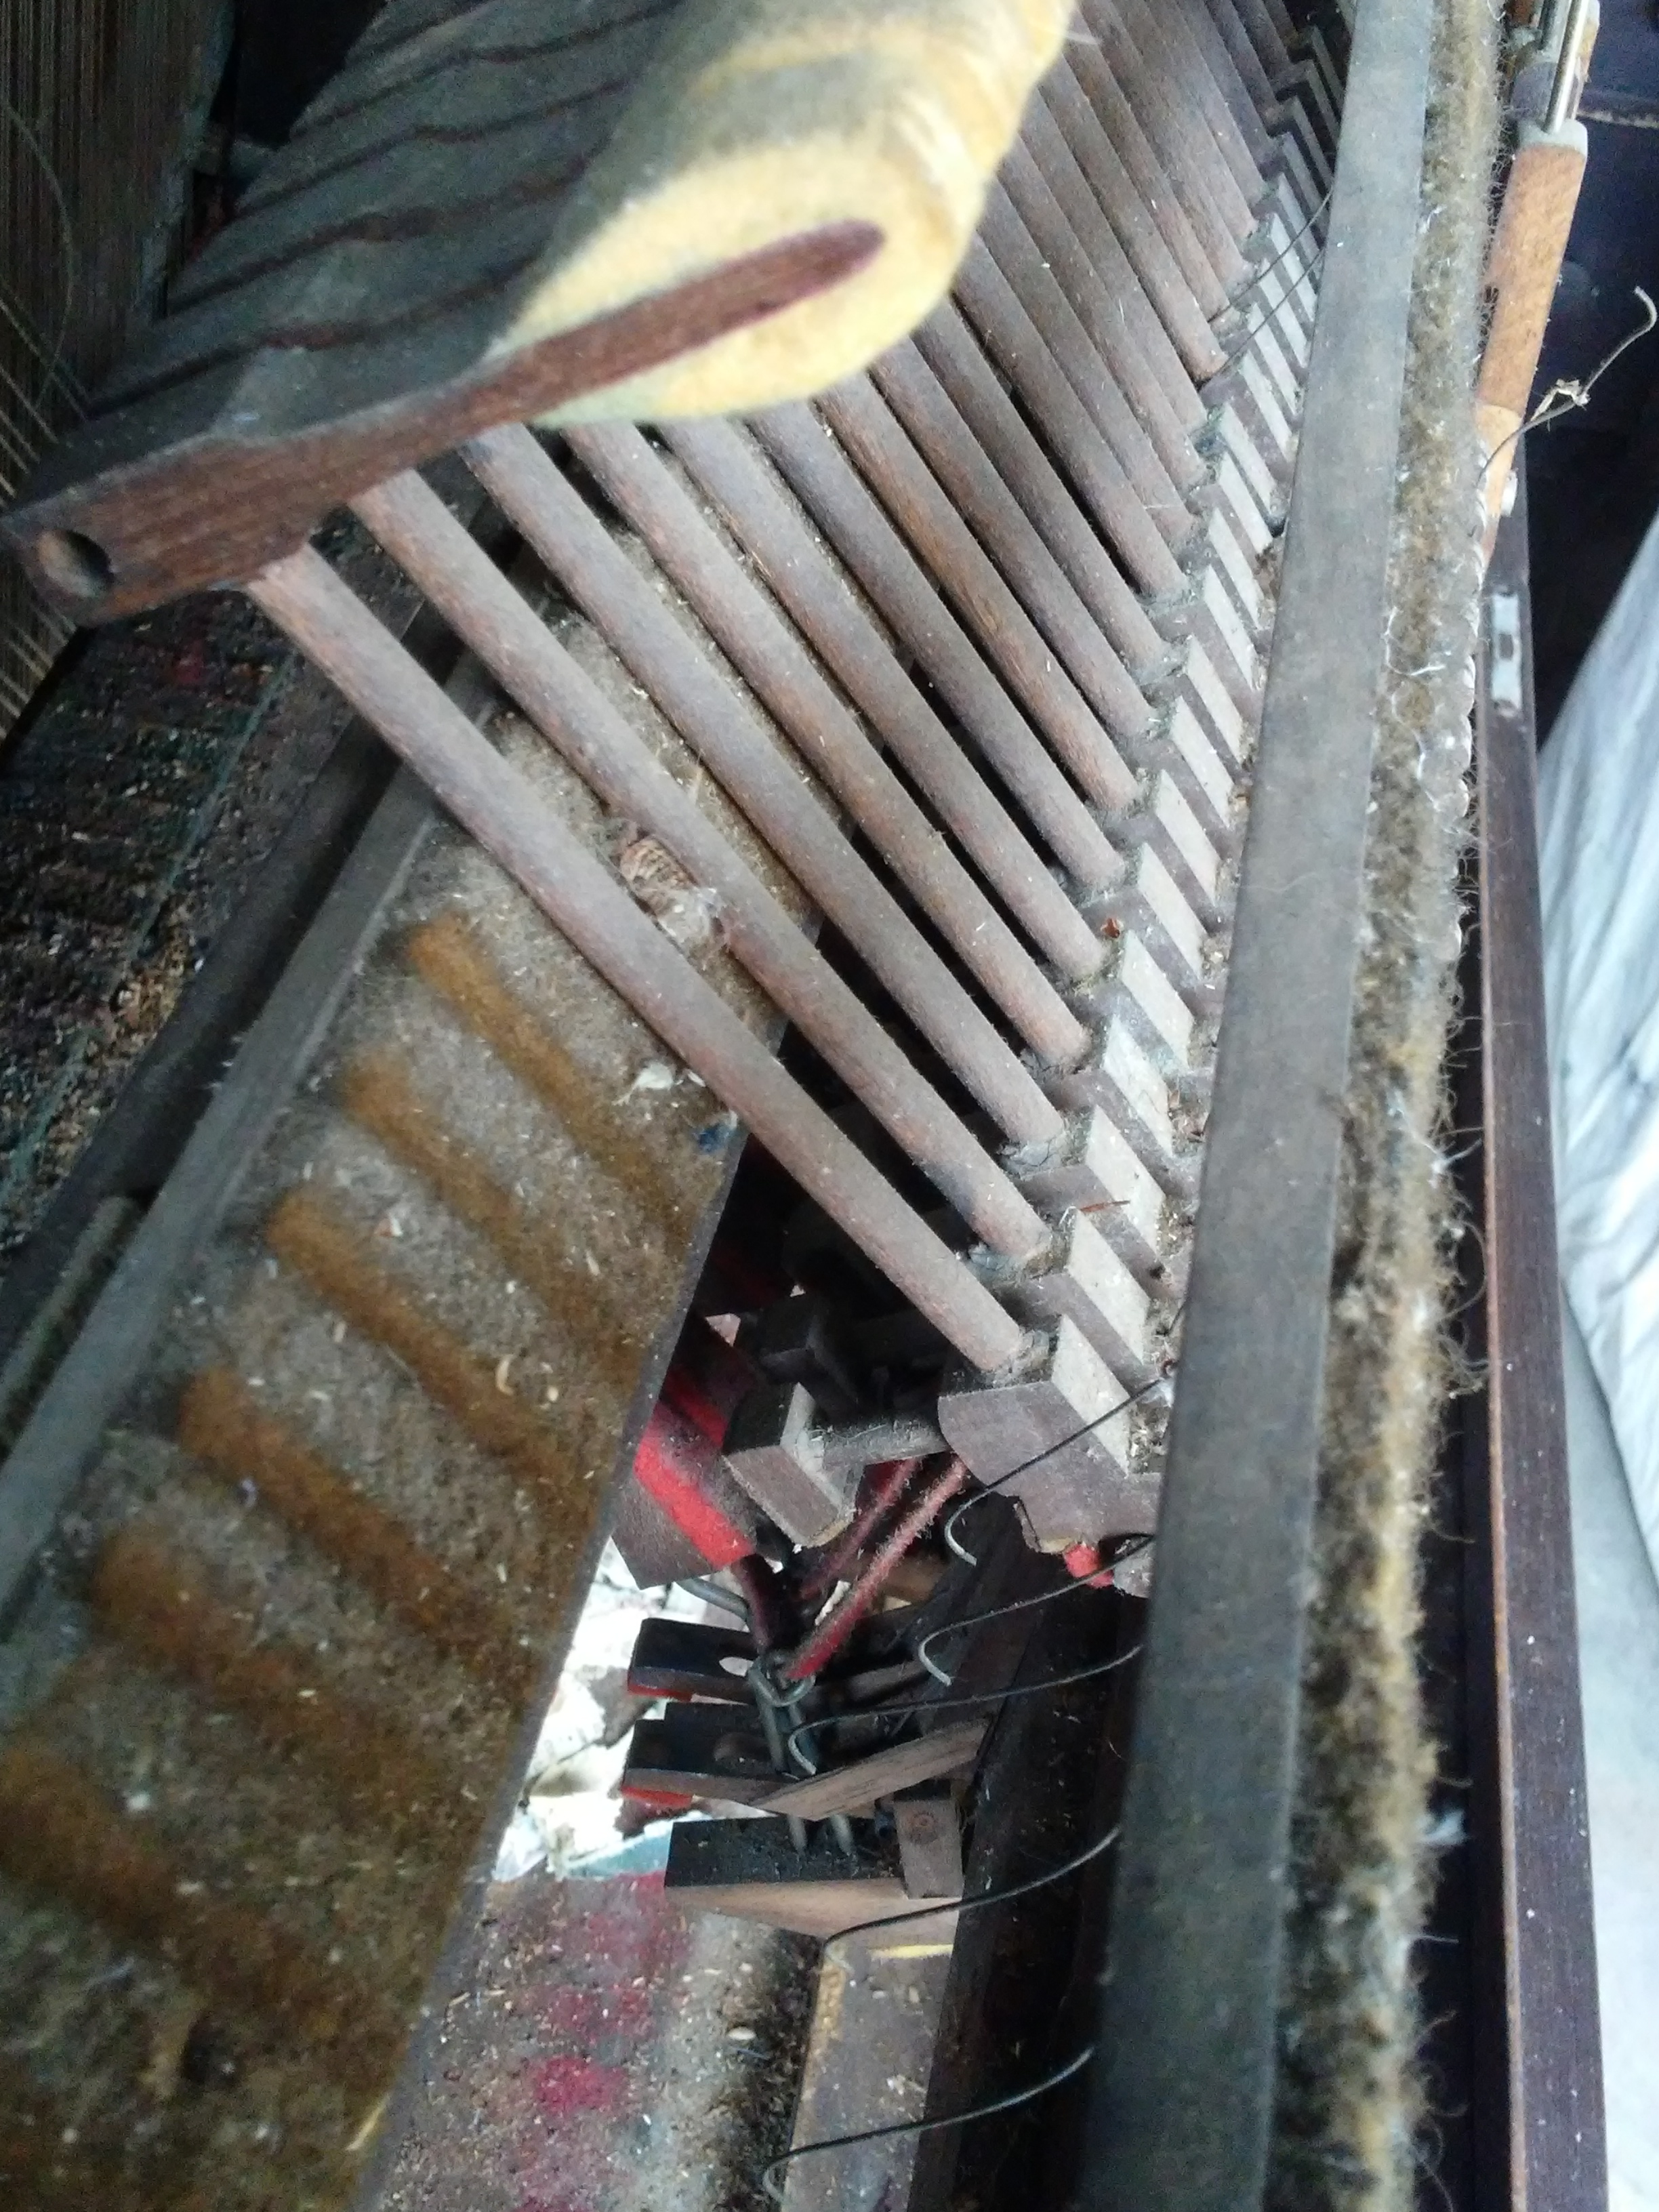
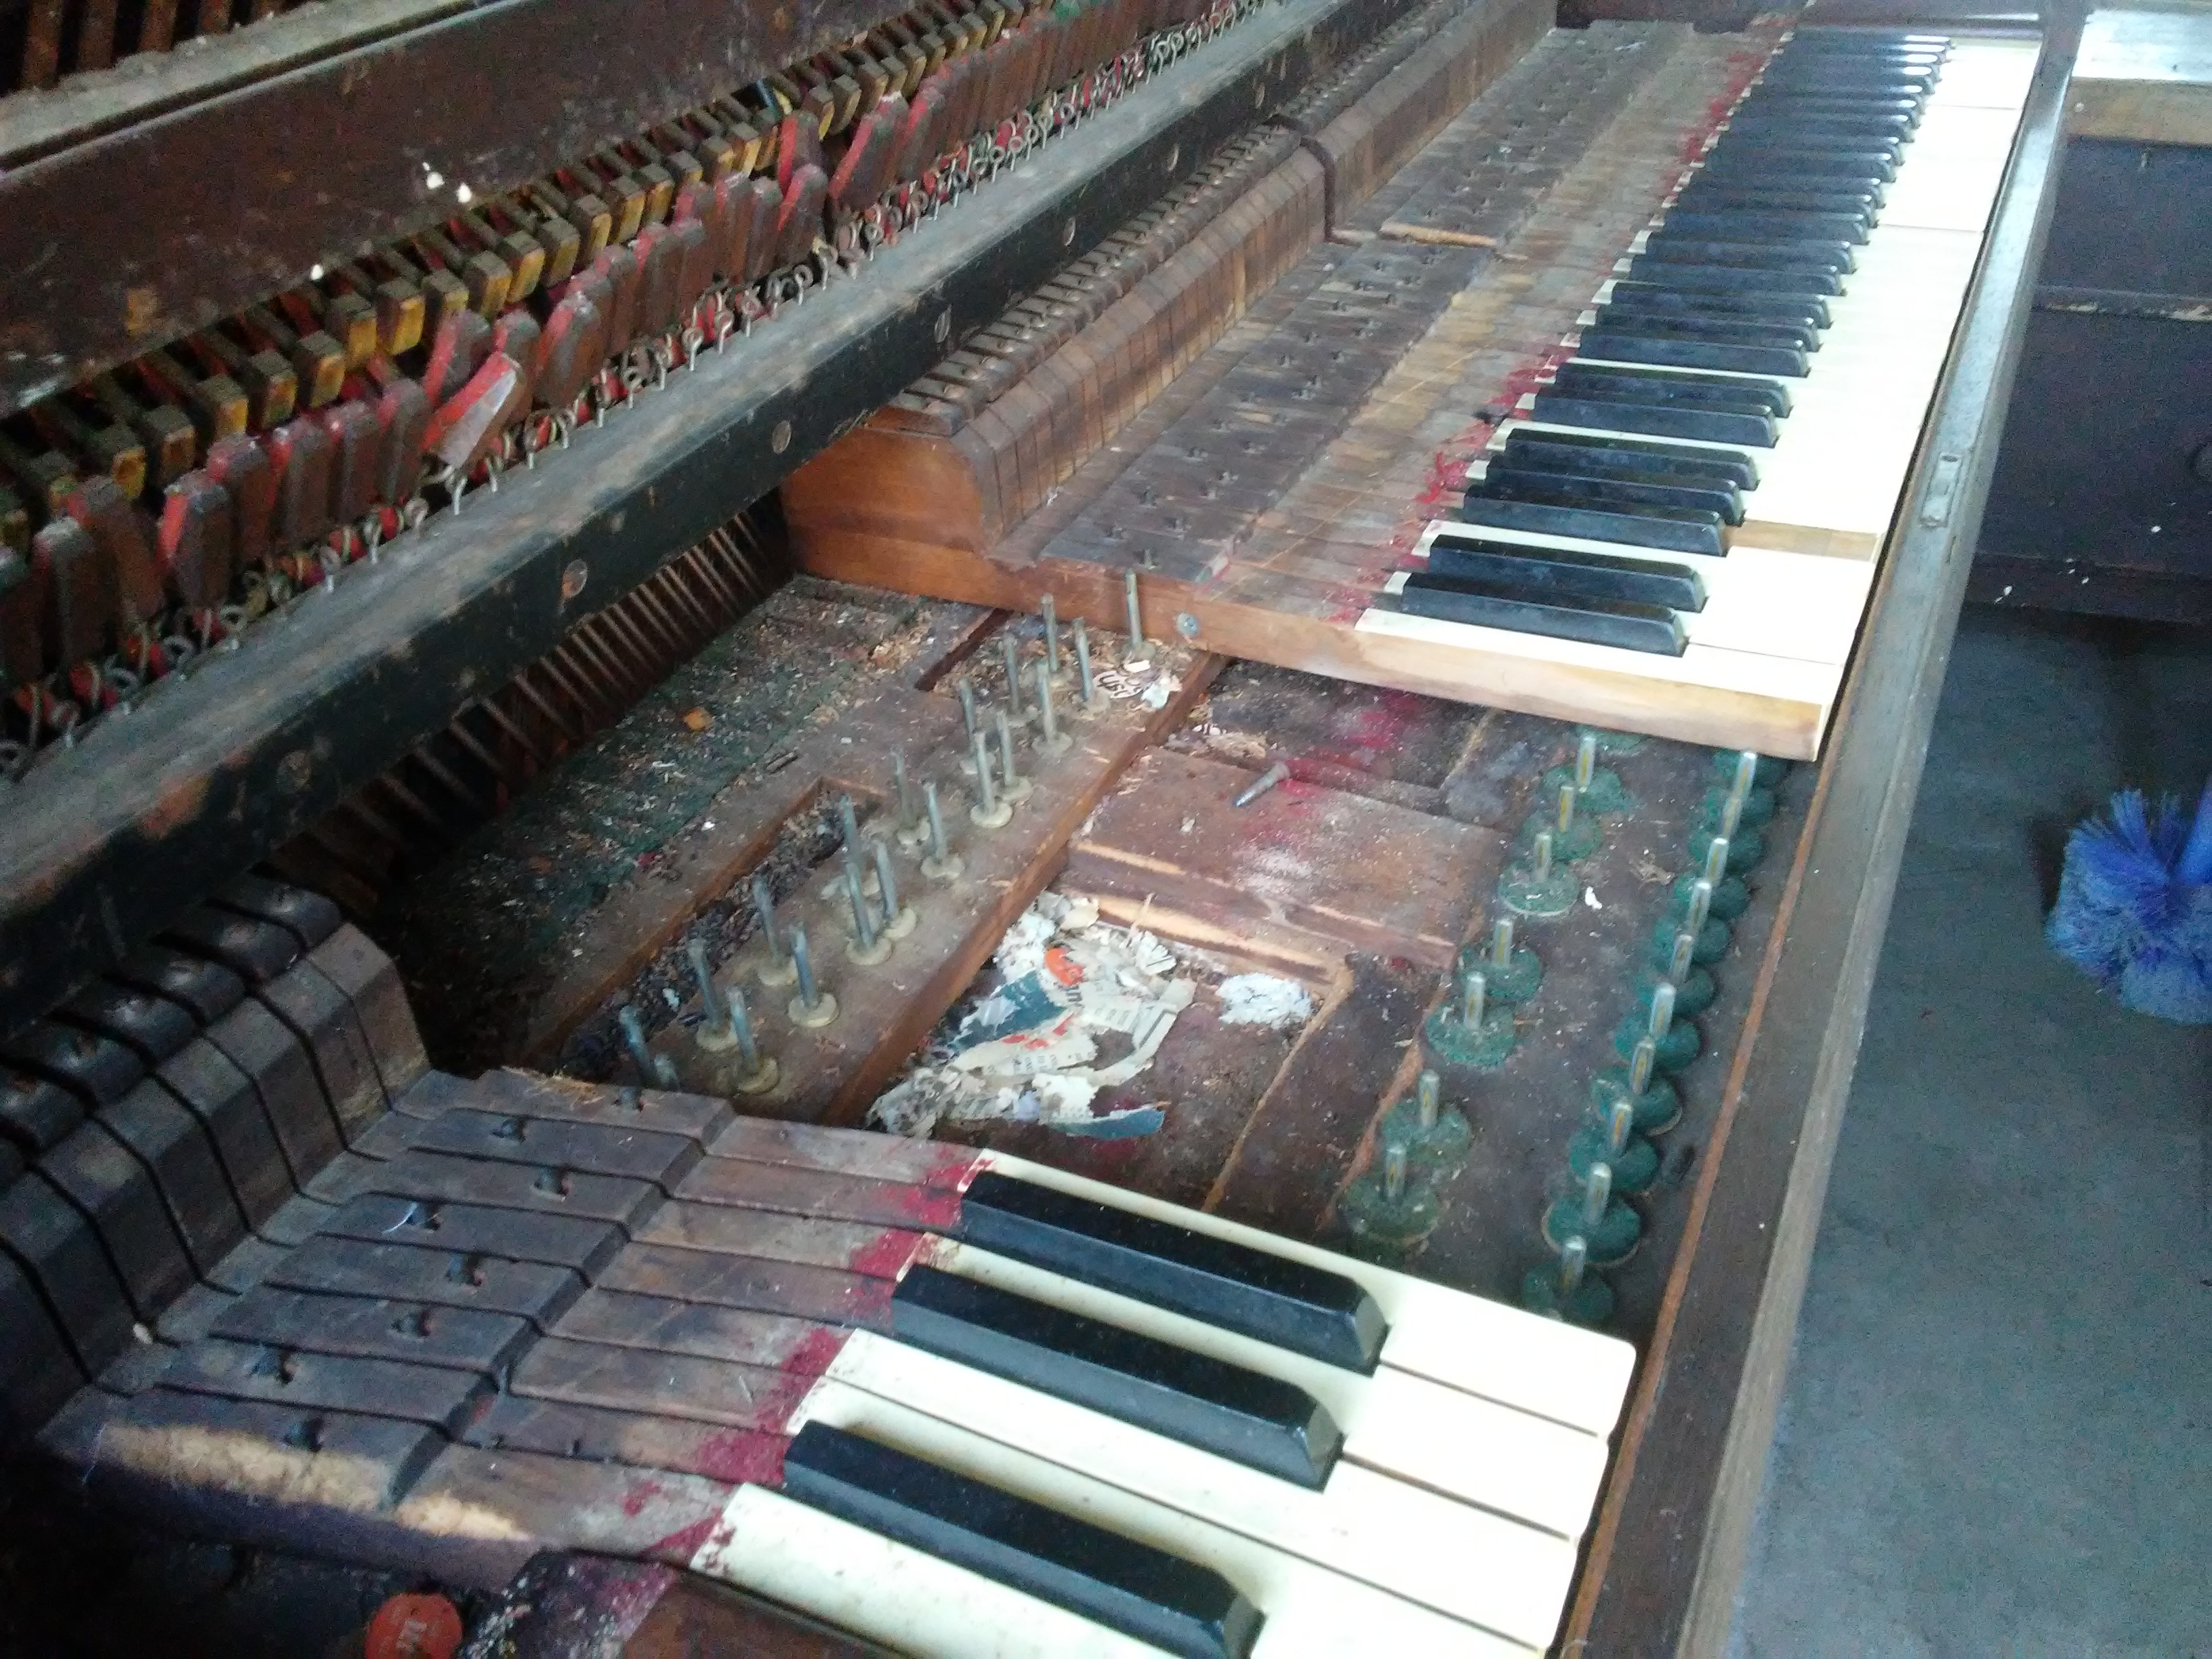
There are more than 12,000 individual parts to a piano, more than half of which are in the action. (Based upon my experience in taking pianos apart, I estimate this number to be representative of all pianos, and not exclusive to the Steinway.) I recently took a virtual tour of the Steinway factory in NY, and I’ll have to say that as one who disassembles pianos, I was fascinated by the reverse process. It gave me a greater appreciation for some of the pieces for which I haven’t yet found a use, such as the bridge and its hitch pins. But, believe me, I will—especially after watching the fine craftsmanship that went into making them. Too much time and effort went into the construction of the various components of these (and other) pianos for me to simply throw away any part of them.

I now invite you to take the same virtual factory tour. This 42-minute tour will walk you through the entire process of the making of a modern-day Steinway grand piano. It truly is an amazing work of art!

Bibliography

Ashley, Larry E. pub. Pierce Piano Atlas. 70th Anniversary Edition. Larry E. Ashley Publishing: Albuquerque, NM, 2017.

americanhistory.si.edu/

britannica.com

steinway.co.uk

steinway.com

steinwaypianos.com

metmuseum.org

Photo courtesy of Luxurious Magazine

O Magnify the Lord with Me

I will bless the LORD at all times: His praise shall continually be in my mouth. My soul shall make her boast in the LORD: the humble shall hear thereof, and be glad. O magnify the LORD with me, and let us exalt His name together.

Psalm 34:1-3

As a church musician I know it’s hard to find time to practice a song for a special or offertory. And when you make it a group number, the more people involved, the harder it is to get together for practice.

For that reason, a lot of us prefer to perform solo. It’s easier to prepare, true—but it’s also tempting to get up and “wing it.” Your turn has come, and you’re not ready, so you open the hymnal and sing something, or you pull out a song you’ve done fifteen times already, and you do it again simply because you know it and feel comfortable with it.

But I ask, is that worship? Yes, there are plenty of songs worthy of repeating, but may I challenge you to repeat them because of the message they bear, and not because you were too lazy to learn something new.

May I also challenge you to put together more duets, trios, quartets, and ensembles—both vocal and instrumental. When looking for your next piano offertory, pick a duet, and then pick a partner. Not only does the preparation time unite you with your fellow musicians, forming a special bond of friendship, but it also pleases the Lord when we put forth the effort to strive for excellence in our worship. And it blesses the hearers too.

Just as there’s a time for repeating familiar songs, there’s also a time for solo performances. But group performances should be the rule rather than the exception. I believe this is scriptural. After all, in the Old Testament in particular, where worship music is spoken of quite frequently, it is almost always in the context of choirs and instrumental ensembles.

Are you working on a special for August? Talk with your fellow musicians, and ask them to join you, saying, “O magnify the Lord with me, and let us exalt His name together!”


Photo by Mic Narra on Unsplash

Play Skillfully

Sing unto him a new song; play skillfully with a loud noise.

Psalm 33:3

It’s hard to hide the music of an instrument. Even when I play my digital piano with headphones on, the others in the room can hear the tap-tap-tapping as I depress the keys.

As a pianist, I love to listen to piano music, and I’m thrilled when I get to hear someone play the difficult pieces with great skill. In fact, I’m awed by it.

I’ve never been able to play a song perfectly, not with consistency anyway. For that reason, I’ve had to learn to hide my mistakes. Some cannot be hidden, at least not from all ears, but most can. I taught my students this same technique. . . .

Practice, practice, practice.

Practice with hands separate.

Practice with hands together.

Pay attention to your fingering. Repeat it measure by measure, line by line, until muscle memory takes over.

Practice with the metronome. Start with a slow and steady tempo, then gradually work up to the indicated tempo. Learn what the proper tempo feels and sounds like.

Turn off the metronome and work on coloring your piece with variations in dynamics and speed. Pull back now and then, but always add back what you take away.

Let it rest, then practice some more.

And when you’ve done all you can do to perfect it, if errors persist, then just keep going.

Don’t stumble.

Don’t fumble.

And whatever you do, when performing, don’t go back and try again to get it right.

Just keep pressing forward with a relaxed expression on your face, and most folks will not even notice. Some may think it was written that way. And those who do hear the mistake will easily forgive it if you don’t call attention to it.

. . .

Some folks are gifted musically, and their fingers, eyes, ears, indeed their entire body flows with the notes on the page. Even they have to work, but their work yields excellent results.

Then there are those of us whose greatest skill is in making the mistake sound as though it belonged there.


Image by Free-Photos from Pixabay

No More Pianos, Please

Recently I drove 300+ miles to pick up my final piano. It was my sister’s, and it refused to hold a tune, so I promised her I’d come for it and make something useful and beautiful out of it. But she had to wait several months before I was ready to add anymore piano parts to my already-filled-to-capacity workshop. She was patient, and now her living room has more space.

Over the years many people have donated their old, worn-out pianos to Encore, and I appreciate each one that has come my way. But this lady isn’t as young as she was when she started, and our back yard can’t hold a bigger workshop than the one we already have. So it’s time to say, “No more pianos, please!”

I’m putting it in writing so you all can hold me accountable. For, you see, I’ve said this before. In fact, I told my family that Piano #12 would be my last . . . and then I was offered an 1866 Steinway. Who can say ”no’ to a Steinway? Then came another cascade of offerings, and before long I had rescued 24 pianos from the landfill. My sister’s makes 25. And now I really do need to stop.

There is one instance in which I might would make an exception, and that is if another baby grand were to come my way . . . or, be still my soul, a square grand. In that case, once again, I’m afraid I wouldn’t be able to say ‘no.’

Just sayin’.

Would you?