Welcome back to my piano art studio. Today I’d like to share with you—not something I’ve made—but the brand new space where pretty much all of that work takes place.
Purchasing a shed
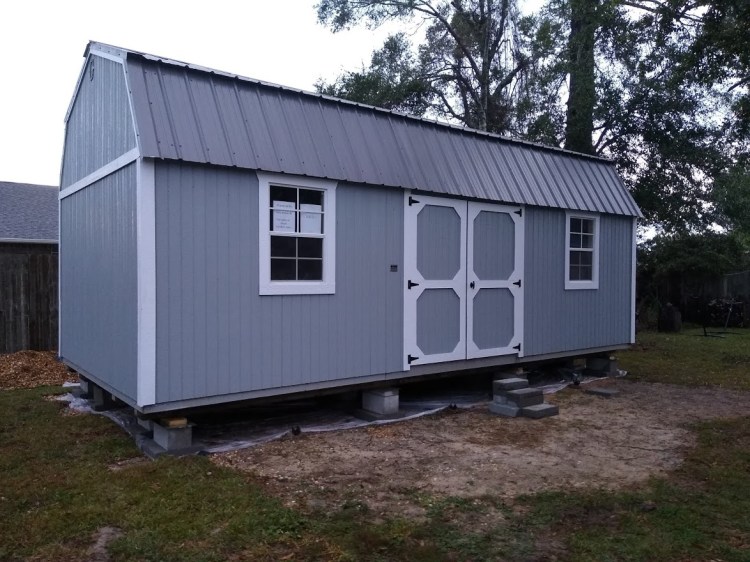
In July 2020, my husband and I ordered a shed to be delivered to our house and set up in the back yard. That shed was to be my workshop. It was beautiful, and huge! And it had a covered porch all the way down the length of the front. I had to sacrifice the swimming pool to make room for the shed. But, oh, I could just imagine spending the evenings on the porch, rocking in our Cracker Barrel rocking chairs, sipping on glasses of iced tea, and enjoying the sunset after a long day of work.
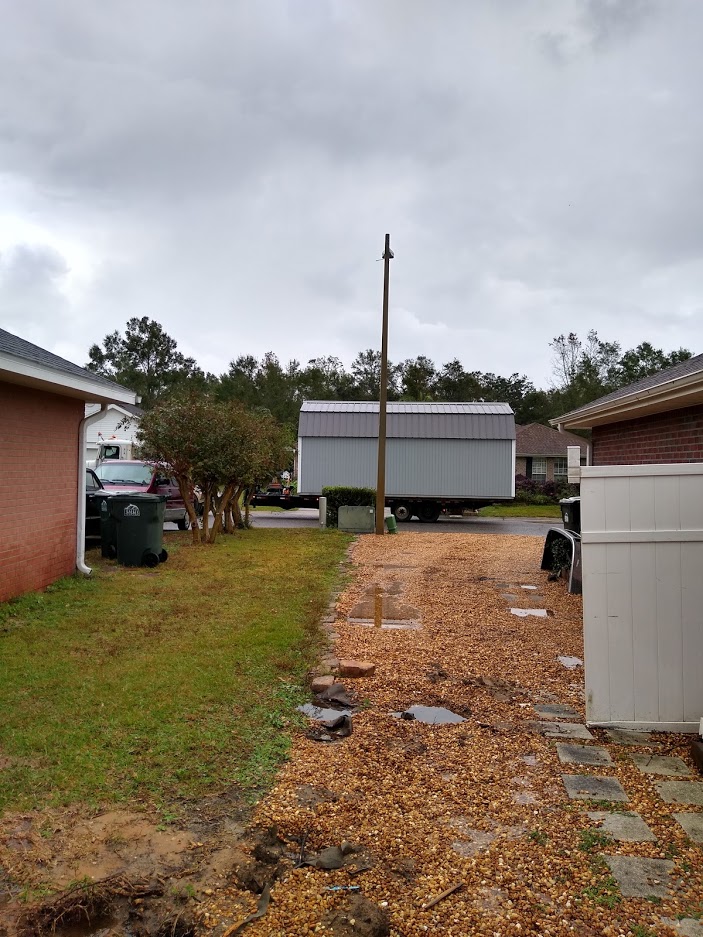
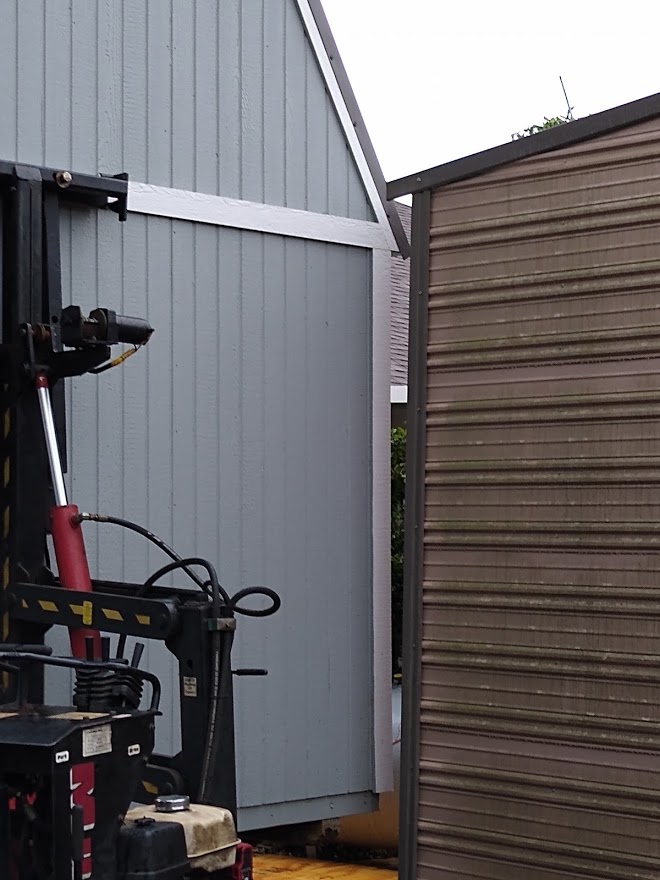
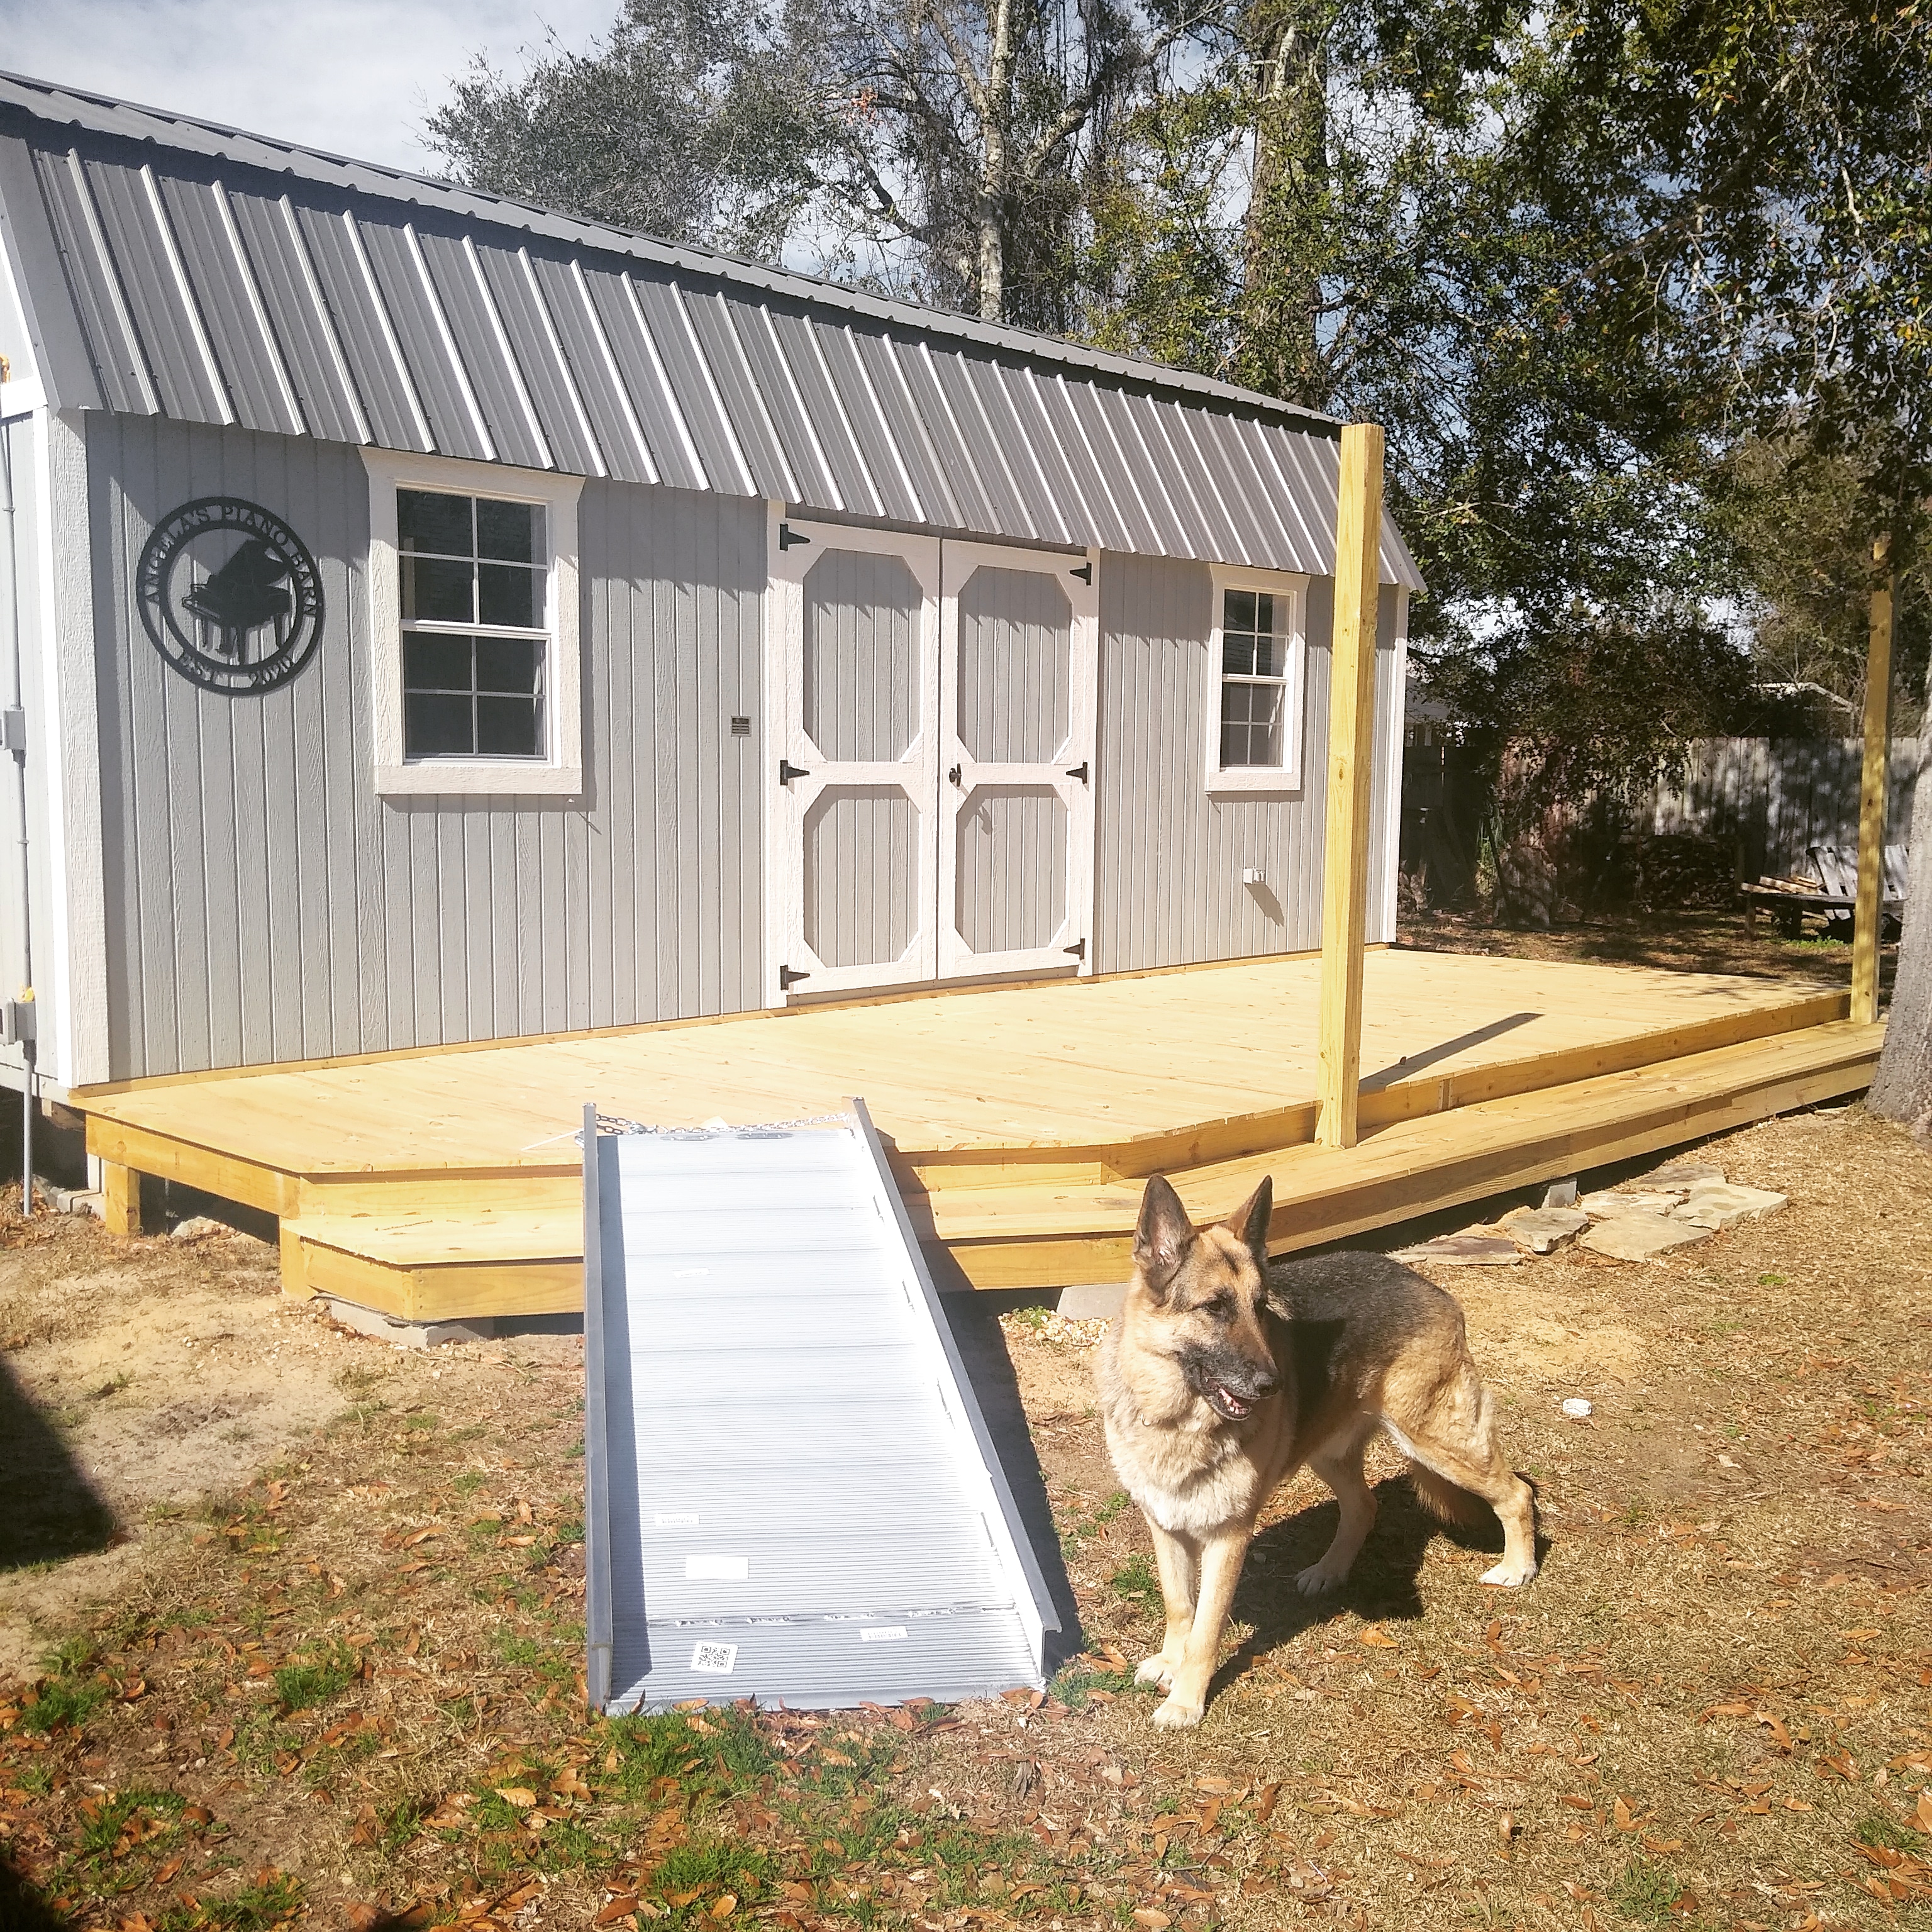
But those plans went by the wayside as soon as we realized that our dream shed was NOT going to fit between our house and our neighbors’ house. So after carefully measuring to be sure it would work, we chose the largest model that logistics would allow: a 12′ x 24′ barn-style shed with a window on either side of the spacious double door. We had to wait several weeks while they built our shed, and it was delivered in November on a drizzly day. But not even the chilly rain could dampen our spirits as we watched our brand new building come into the back yard, led by a very skilled driver. He literally had two inches to spare on either side, but he got it in with no damage whatsoever to our property or our neighbors’.


Fleshing out the carcass
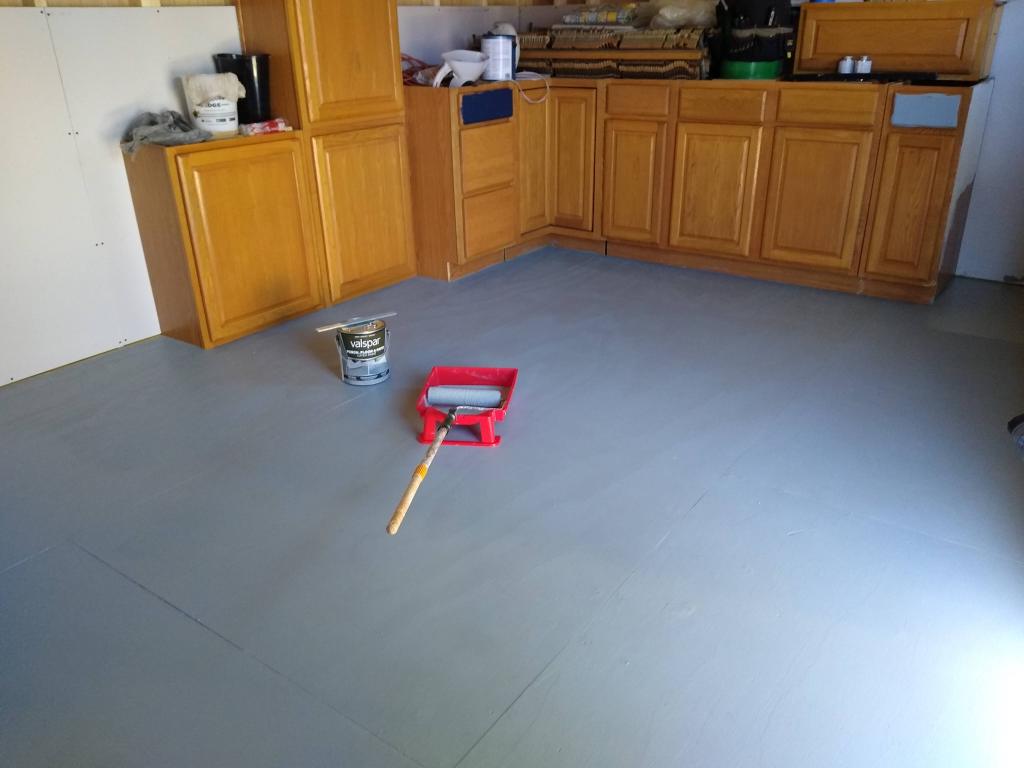
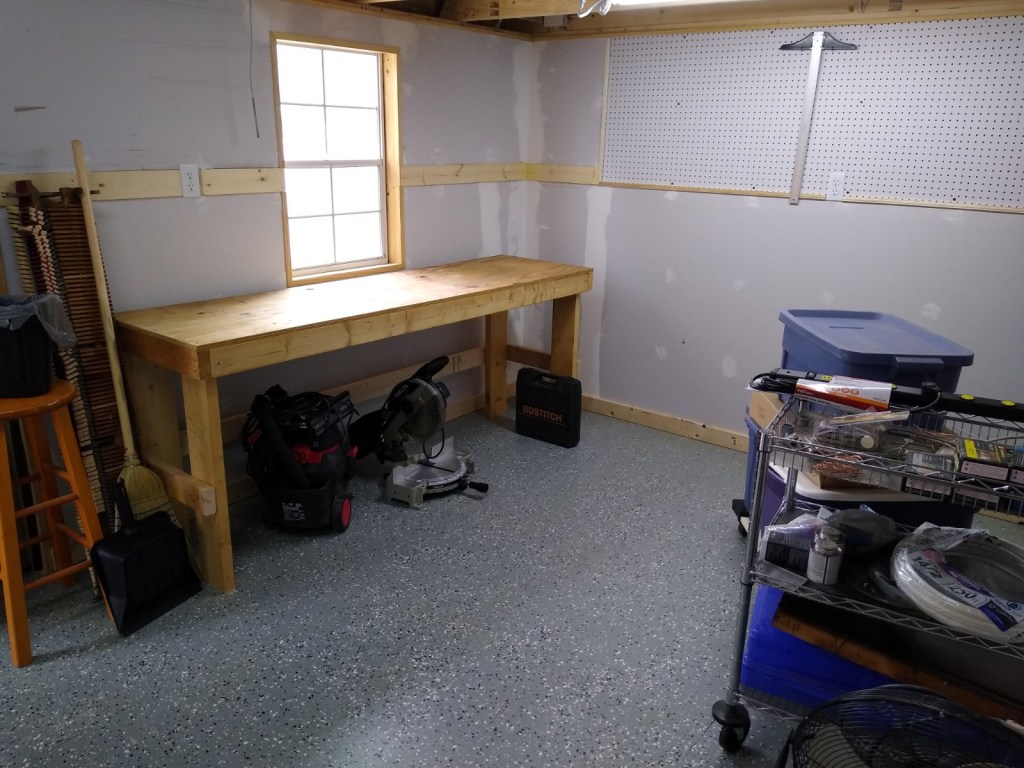
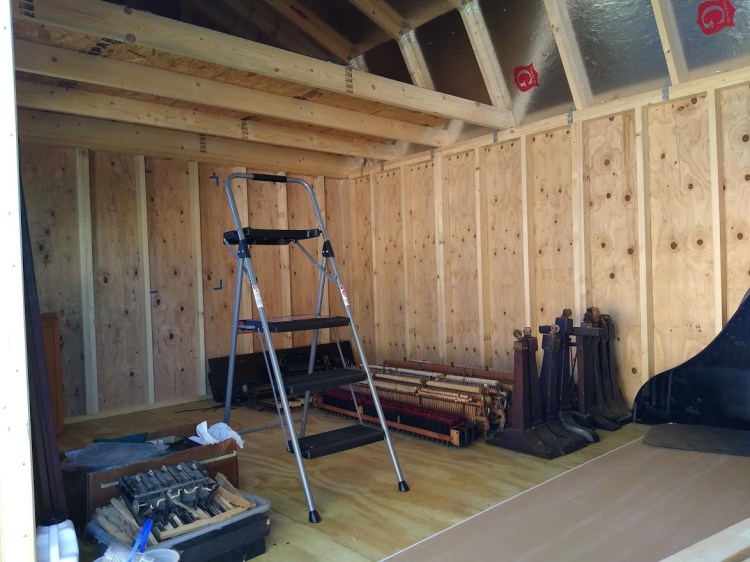
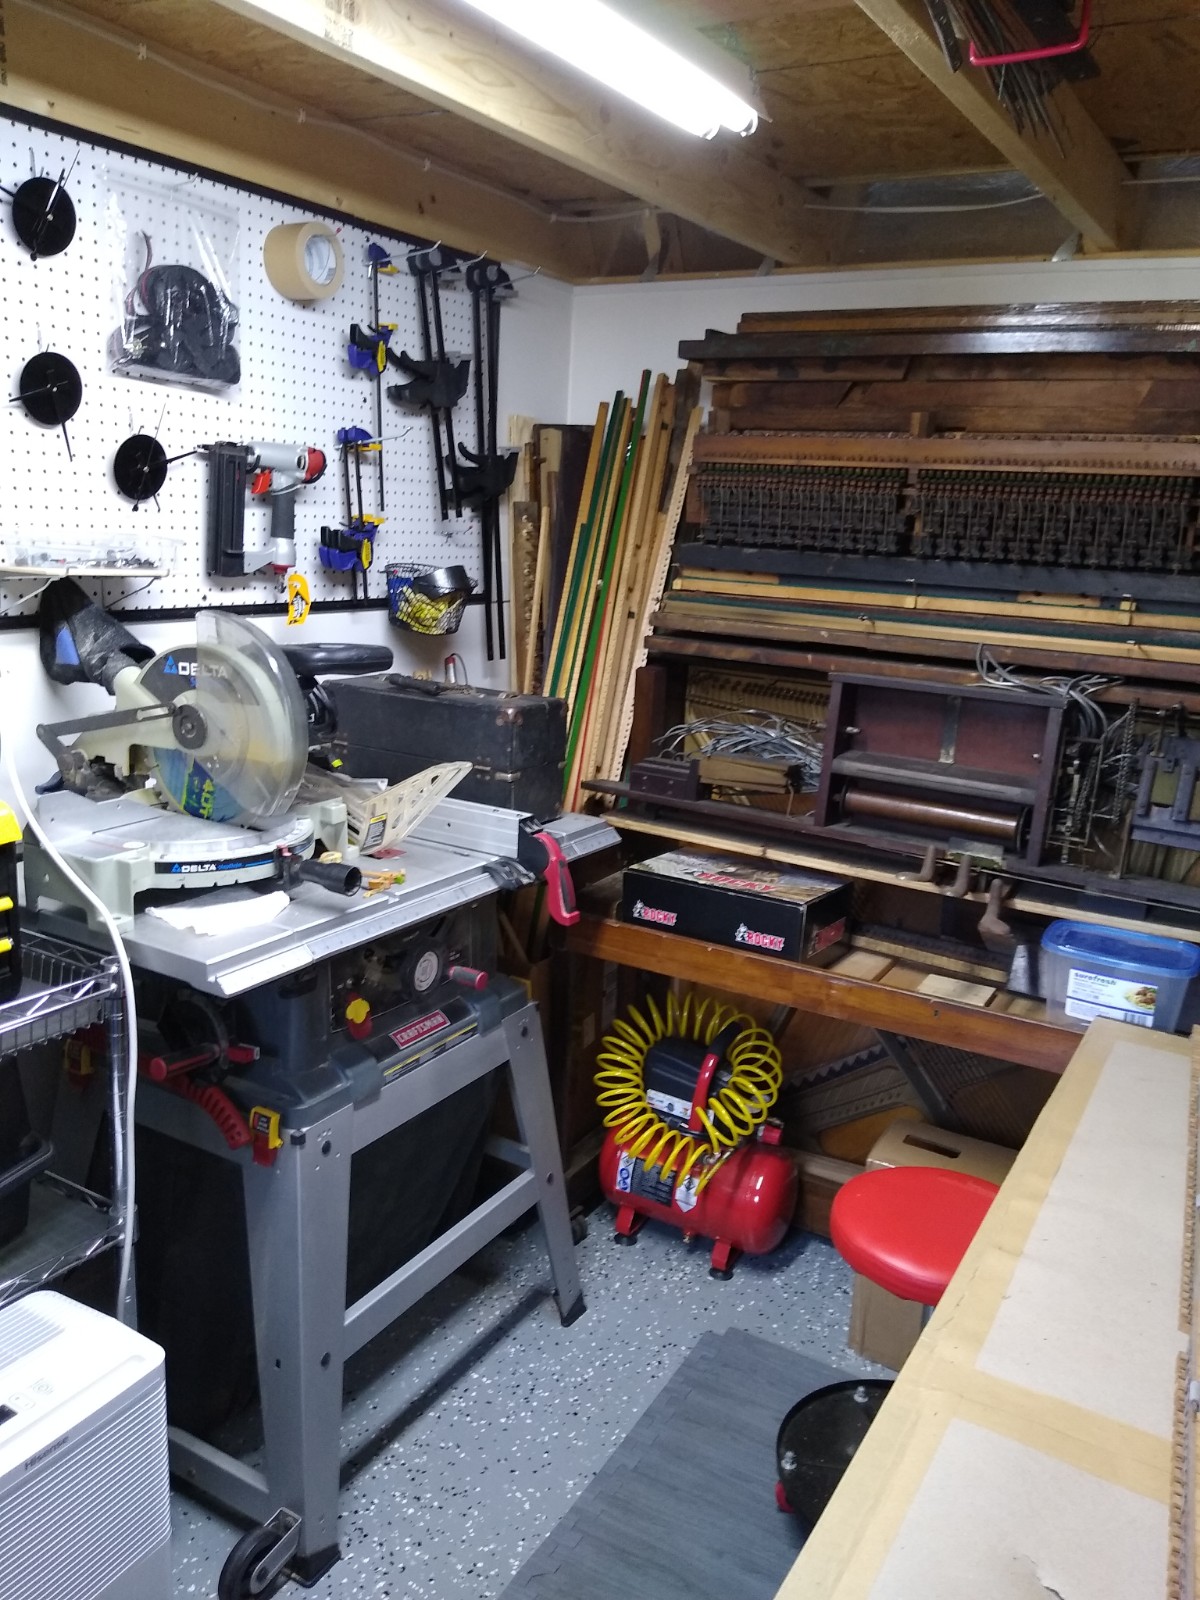
My husband, who is skilled at a good many things, ran wiring to the shed so that I’d have lights and electrical outlets. The inspector thought it came pre-wired because my hubby did such a great job. After the inspection, Patrick and I, along with our son Matthew, worked together to hang drywall. We finished it off with baseboards, chair rail molding, and trim along the top, stopping just short of the lofts. On both ends of the workshop, my husband installed pegboard for me, and we trimmed that out as well. He did most of the mudding and sanding, and I did the painting. We also reinforced the floor with an extra layer of plywood, which I painted, speckled with paint chips, and sealed. Someone in a neighborhood near ours donated his old kitchen cabinets for the workshop. What a blessing that was! We discarded the sink and replaced the countertop. When I had decided on a layout, Patrick fastened the cabinets to the wall, and I got busy painting them too.


All decked out
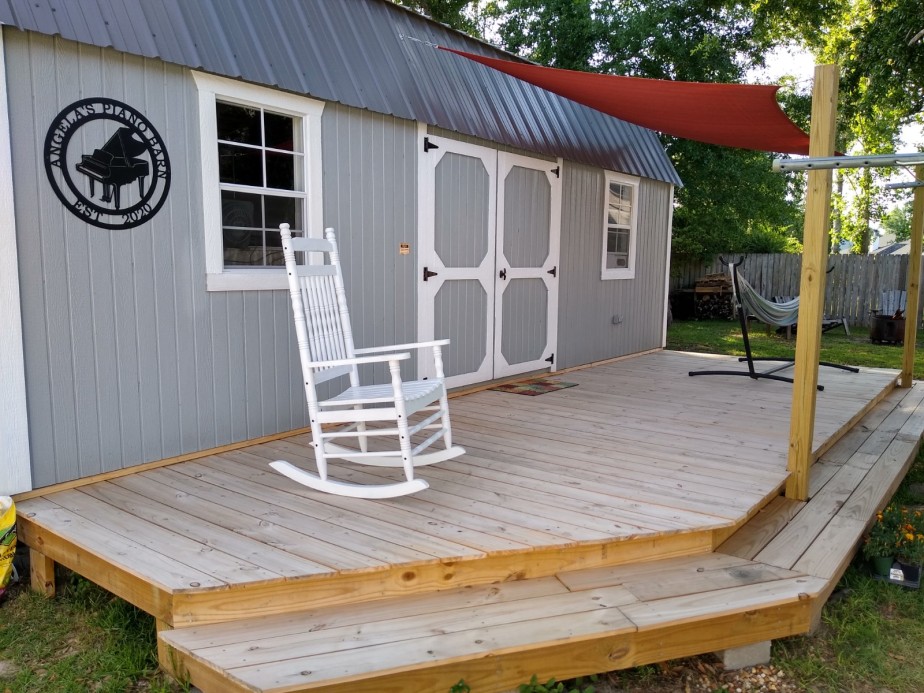
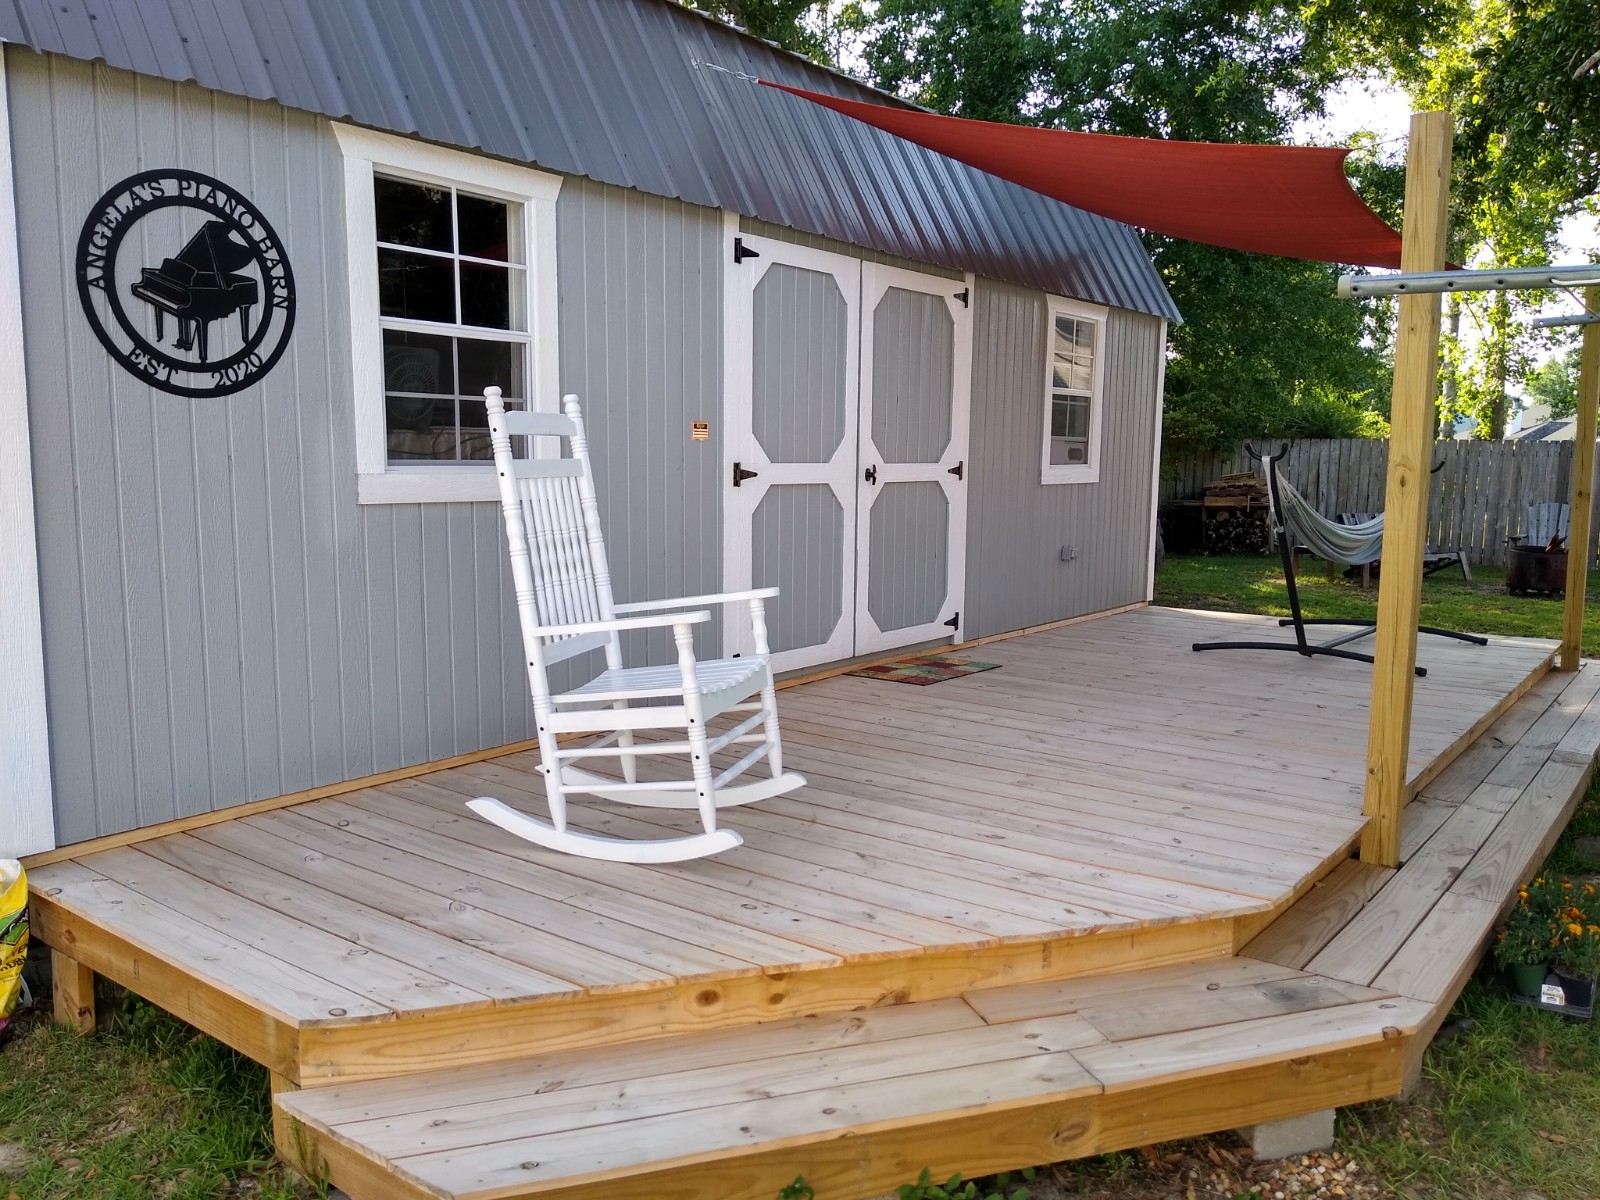
By design, the workshop sits about 19 inches off the ground. So to get the pianos inside, we needed to build a deck and a ramp. The deck was finished in two days, thanks to my hubby’s expertise and Matthew’s help. The three of us worked hard those two days, and we were quite pleased with the result. The deck measures 8′ x 24′ and runs the entire length of the shed. A single step wraps around the porch, and the corner on one end is angled toward the gate, to make it easier to move the pianos in and out. My husband decided to order an aluminum ramp instead of building one from wood, and that has proven to be an excellent idea. It leads to the deck at the perfect angle and can be put away when not in use.
While shopping around for the rocking chairs I wanted, I found a used one for $40. After about three coats of paint, it looked almost as good as new. We still don’t have a second one, but Matthew gave me his hammock stand, which we had been sharing up to that point, so I can choose whether to sit in the rocker or swing in the hammock. I even take my Sunday naps out there from time to time. In foresight, Patrick installed two 4’x4′ posts while we were building the deck, and those posts now support the sun sail shade which covers a part of the deck. At some point we may cover all of it, but for now, the one does what we need it to. We also have considerable shade from two oak trees.


A year in the making
The workshop and deck technically were finished in February, and right away I began moving in. I had planned the layout of the workbenches, shelving, and pianos, but I miscalculated. Oops! Consequently, we still have two pianos taking up space in the garage. But we moved out of the storage unit, and that was the most important thing to do.
Even though I’ve been working out there for a while, I put off sharing my Piano Barn with you because it still lacked a couple finishing touches. In particular, the countertops were not cut and installed until this past summer—in August in fact—just over one year from the date that we first ordered a shed. I really wanted to take a picture of the studio side with the countertops in place. It is so beautiful, and I love working in there! But alas, I got sick, really sick, and even now several weeks later I never have updated the photos. Oh, well. Right?

Angela’s Piano Barn, est. 2020
The name was my husband’s idea, since we went with the barn style. I’ve been creating piano art since 2011, but the barn is new, hence the date.

I really love the lofts, and both of them are full. The one on the workshop side contains piano cabinet wood accumulated from the 24 pianos I’ve disassembled; while the one on the studio side is filled with blank canvases and boxes of action pieces that I’ve already disassembled, cleaned, and sorted.
At this point I have three piano cases which I use as workbenches. (Actually, one of those is holding parts to a dismantled player piano, so it’s pretty much out of service for now.) Additionally, I have three more piano cases which I intend to convert into desks. In a moment of impatience, I moved a piano into the workshop with the help of my daughter, since the men were not available. We got it in, but I hurt myself in the process, and now I deal with chest pain from costochondritis. This has slowed me down considerably, when it comes to the heavy work of making the desks.
As a finishing touch to the workshop, we purchased a portable air conditioner, a dehumidifier, and a heater, to make working conditions more comfortable. Yes, even in Florida we need a heater. Here in Northwest Florida, the temperature drops to about 20 degrees overnight during the winter.


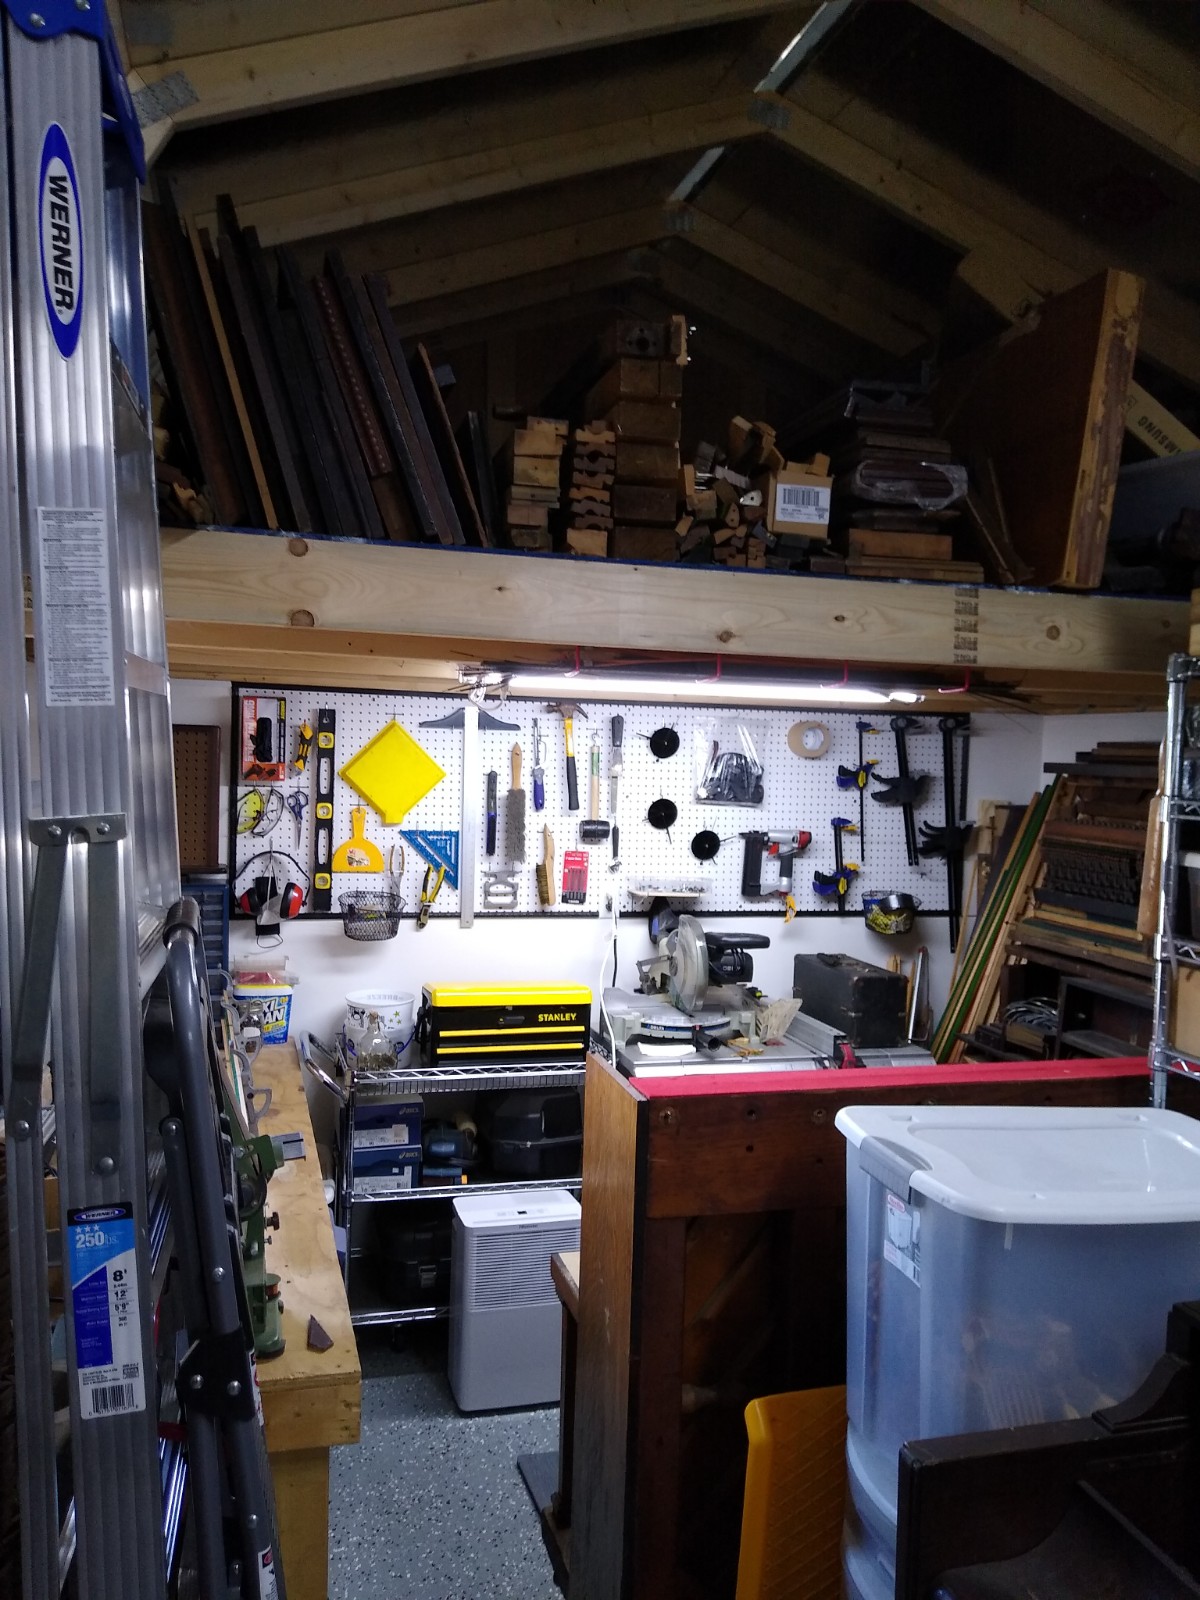
My rather spacious-looking workshop is cramped on the inside… for now. But the close quarters are merely a motivation to me to keep my work area clean. And once in a while I look around and envision a space without the three piano desks, once they are completed and moved either to a store or to their new home.
♬ ♬ ♬ ♬ ♬ ♬
If you’d like to see examples of things I’ve made in the Piano Barn, hop on over to my shop.
Thank you for joining me on this tour of the studio. I look forward to seeing you on the next one. Until then, I invite you to check out photos of my other work in the gallery. Enjoy the rest of your day!