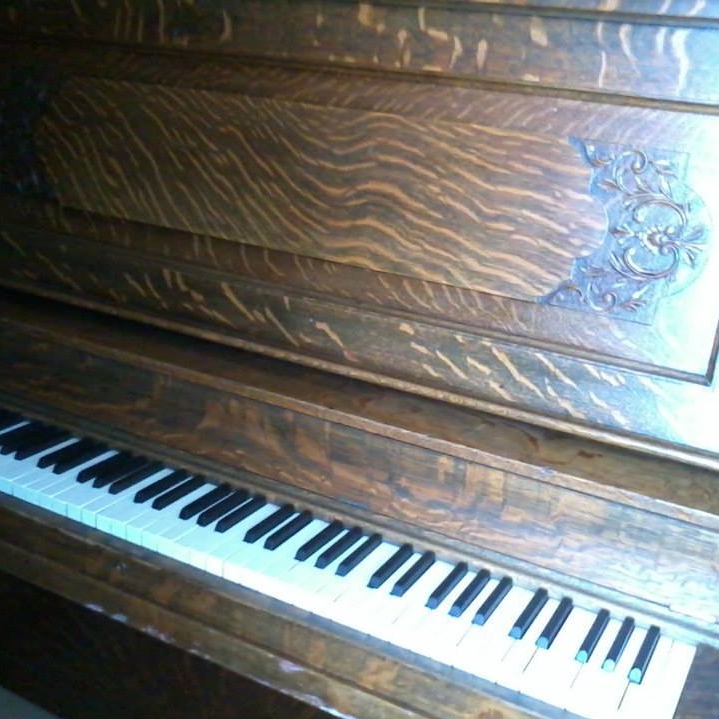
The piano that started me on my art journey was a Lyon & Healy upright grand, built in 1906. In addition to studying the parts themselves to figure out what I could do with them, I also wanted to learn all I could about who made this fine musical instrument. While I do not claim to know enough to even call myself an amateur, I will gladly share with you the snippets I have learned.
George W. Lyon and Patrick J. Healy came from Boston to Chicago in 1864 to open a store selling sheet music. Their venture proved to be extremely successful, and within a year they expanded the business and began carrying musical instruments as well. They survived the Great Fire of 1871 because they had excellent insurance coverage. While rebuilding, they acquired the piano business of another firm and became the sole representative in the Chicago area of Steinway & Sons. This was the start of a meaningful relationship with the piano icons from Germany.
Harping on Excellence
Healy noticed that his repair shops were filled with harps that needed a great deal of work, so he set about to design “the finest harp the world has ever seen.” It took years of research, but in 1889, the first Lyon & Healy harp was produced, and it was played daily at Morgan Park High School in Chicago for 90 years, until it was returned to the company to be put on display in the Museo Dell’Arpa Victor Salvi in Italy. Healy’s hard work paid off, and his company became known as the world’s leading manufacturer for concert harps.
In the late 1800s Lyon and Healy further expanded their business. They were already carrying pianos made by other manufacturers, but now they began to produce their own: uprights, players, and grands. They also produced a line of upright pianos under the name of “Washburn” as an affordable alternative to the more elite Lyon & Healy brand.
Pianos and harps were not the only instruments produced by Lyon & Healy. For a while they also built pipe organs for both home and church use, as well as a variety of brass and woodwind instruments. And they did not forget their humble beginnings, for by 1930 they were the largest distributor of sheet music. In fact, they were advertised as being “the world’s largest music house.” New upright pianos sold at that time for $125 to $290. Bear in mind that the average house sold for $4,700, you could buy a car for $1,450, and a loaf of bread cost 4 cents. Many professionals had an annual salary of $1,500 to $4,000.
The Great Pruning
During the Great Depression, the Everett Piano Company bought Lyon & Healy’s piano division, but they continued making pianos under the Lyon & Healy brand until the 1970s, when Steinway & Sons purchased all rights to the name. Steinway closed all Lyon & Healy retail stores and discontinued production of all instruments and sheet music so that the company could focus on the production of harps. It sounds harsh, but sometimes a farmer has to prune branches that are producing fruit so that the remaining branches will produce more and better fruit. After this pruning, Lyon & Healy regained their focus, and their harp industry continues to this day. If not for the hard decision that Steinway made back in the 1970s, Lyon & Healy may well have closed their doors completely by now.
After reading about the humble beginnings, the amazing accomplishments, the harsh pruning, and the incredible longevity of this great company, I have even more respect for the makers of the fine instrument that started me down the path of creating piano art.
Does It Hurt?
At craft shows I have the pleasure of meeting and conversing with a good many folk who stop by my table. Often they ask, “Does it hurt you to take the pianos apart?” My answer has always been: “No. It’s my pleasure because I am keeping them out of the landfill; I’m giving them a new purpose.” But today, after researching to write this article, I must admit that my heart is pained some—okay, more than a little—for this piano in particular. If I had known its history before we started to take it apart, I would have found the $5,000, or whatever it would have taken, to restore it. Because this one would have been worth the cost. And yes, I’m writing this through tears. It’s just a bunch of wood and metal, you say. But that hunk of wood and metal was assembled by a master craftsman, better than most of the others I’ve come across. I can only hope that the people who have purchased items made from the gorgeous tiger oak cabinet and all the action pieces within will appreciate the love that went into creating the piano in the first place, and then the love that went into creating the art.
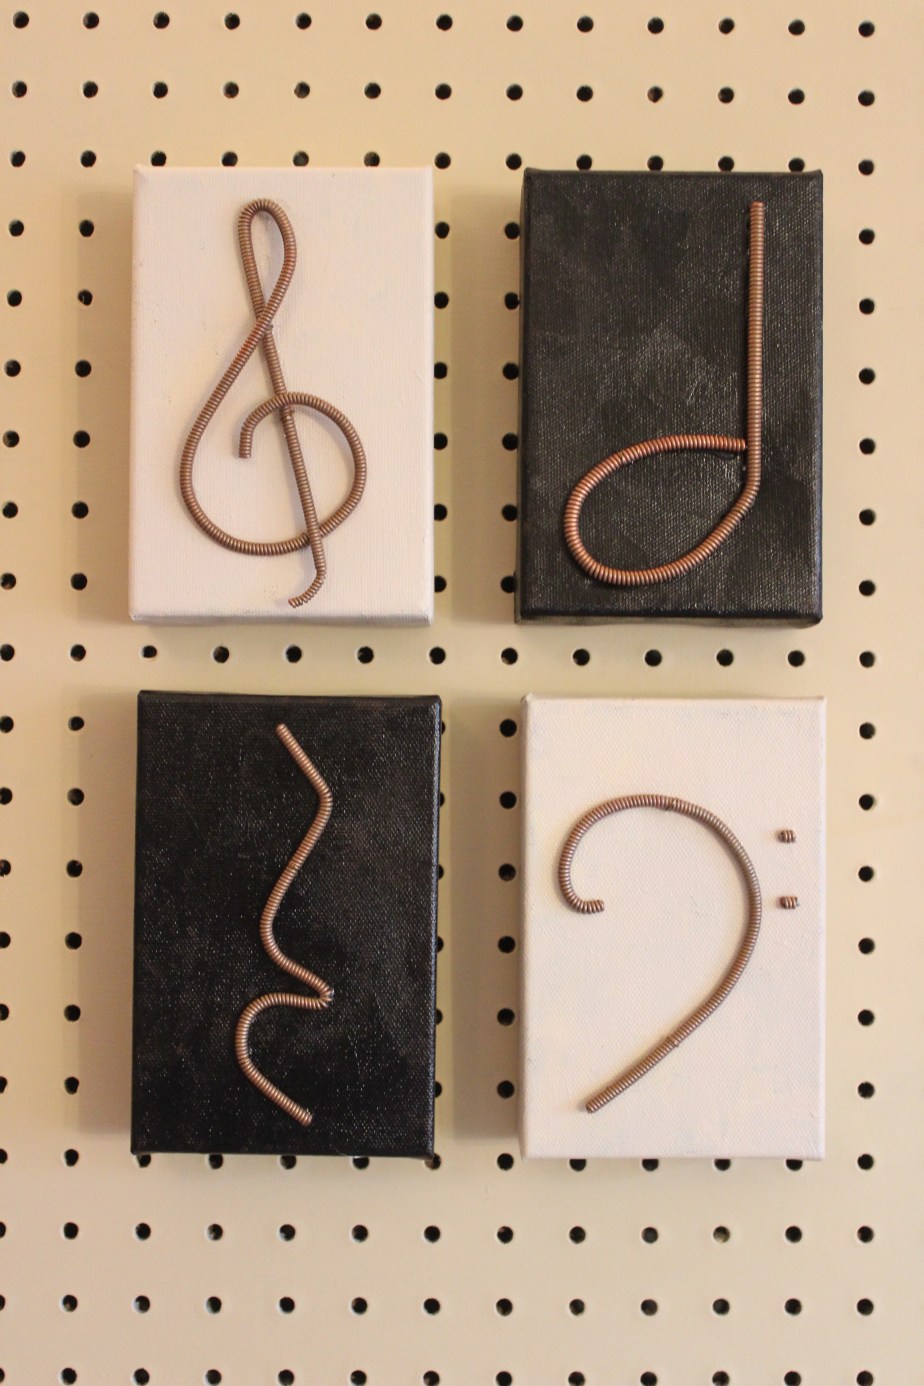
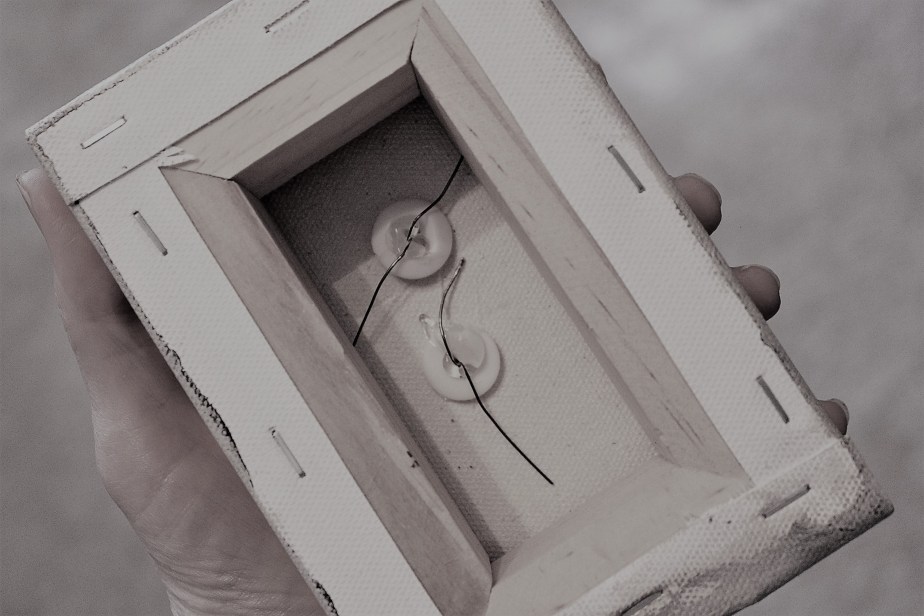
Here are a few photos of my 1906 Lyon & Healy, as well as some of the works of art I made from it:
This slideshow requires JavaScript.
Bibliography
Pierce, W. Robert. Pierce Piano Atlas. 12th Edition. Larry E. Ashley Publishing: Albuquerque, NM, 2008
antiquepianoshop.com
lyonhealy.com
answers.com
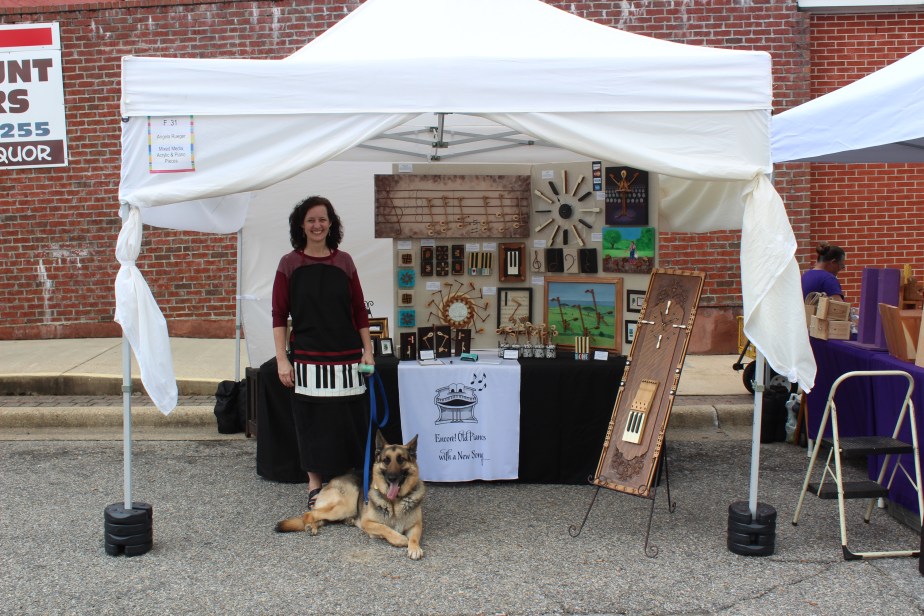
Riverwalk Arts Festival Update
I promised you an update on the arts festival from this past weekend. In a word, it was tremendous! My daughter and I picked up my packet Friday afternoon, and we set up the tent and tables that evening. Due to the inclement weather, and the sensitivity of the piano parts to humidity (especially the felt), I decided not to set out my merchandise until Saturday morning. We also helped one of our neighbors with her tent, as it was similar to ours and new to her. One of the joys of doing shows is getting to meet the neighbors.
My daughter had things to do on campus, so I took her back Friday night and went alone to the festival early Saturday morning to set up. I had made a good call, for it rained during the night. Nothing was wet except the ground, and everything was off the ground. So I pushed the puddled water off the roof of my tent, opened up the walls, and got everything in its place just in time, about fifteen minutes before time for judging.
When the judge came by, she blended herself in with the crowd, and I never knew she was there. So when she and another lady stopped by my table in the early afternoon with a blue ribbon, I was completely astounded and elated. This was my first juried event, so needless to say, I was on Cloud Nine.
I had been wondering whether or not to stay for Sunday. The Lord held off the rain for most of Saturday, with the exception of just a light sprinkle, but Sunday we were expecting a downpour. Not only that, but my family would be in church and unavailable to help me take things down. So I prayed for a particular amount in sales on Saturday as a guide to whether I should return, and the Lord gave me those sales. My husband came after work Saturday and helped me break down my tent. I had been busy helping my neighbor break hers down, so I wasn’t ready when he got there, but he was very patient with me. We went out to eat afterwards, rejoicing in the Lord and in the good day.
As it turns out, the storm did not come until after 2 p.m. Sunday, but it’s just as well that we packed up when we did. I attended the awards breakfast Sunday morning and got to meet our mayor and a few more fellow artists, including another artist who has some of her work in a gift shop in Navarre, the
Sand Dollar Cottage. I’ve seen her work there and admired it, so it was a pleasure to meet her. At the breakfast, the spokeswoman said that in 31 years of hosting the Riverwalk Arts Festival, this is only the second time they’ve had rain. That’s a pretty good track record. Will I be back next year? You bet!


 It’s always exciting when someone asks for a custom order. Such was the case with the headboard. I had made a mirrored coat rack from the music shelf of the Lyon & Healy piano and took it with me to a craft fair. A lady saw it, and it gave her an idea for something special she could do for her mother, who was a retired piano teacher. Her mother lived with her in her home, and she slept in a hospital bed to aid in her comfort. But the bed did not have a headboard. So the lady visiting my craft fair booth wondered if I could make a headboard from a piano music shelf. I told her I would try.
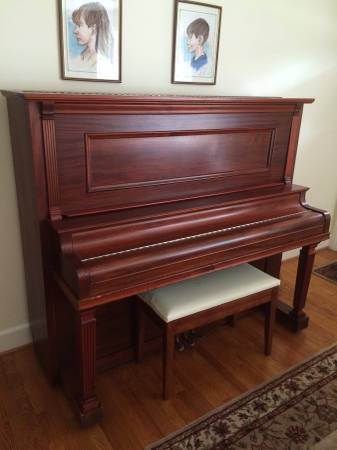
 ght pianos are actually grand pianos built vertically—hence the term “upright grand.” I call this one a cabinet grand because that is the name so designated on the piano.
")
")
")
")


")
")


")
")
")


